
This beginner-friendly Dutch oven bread uses simple pantry ingredients and a no-knead method that does most of the work for you. The dough rises slowly in the refrigerator, which improves flavor and makes it easier to handle. Baking it in a preheated Dutch oven creates a crackly crust and a tender interior that feels bakery-worthy at home.
A Quick Look At The Recipe
- Recipe Name: No-Knead Dutch Oven Bread with a Crisp Crust and Soft Center
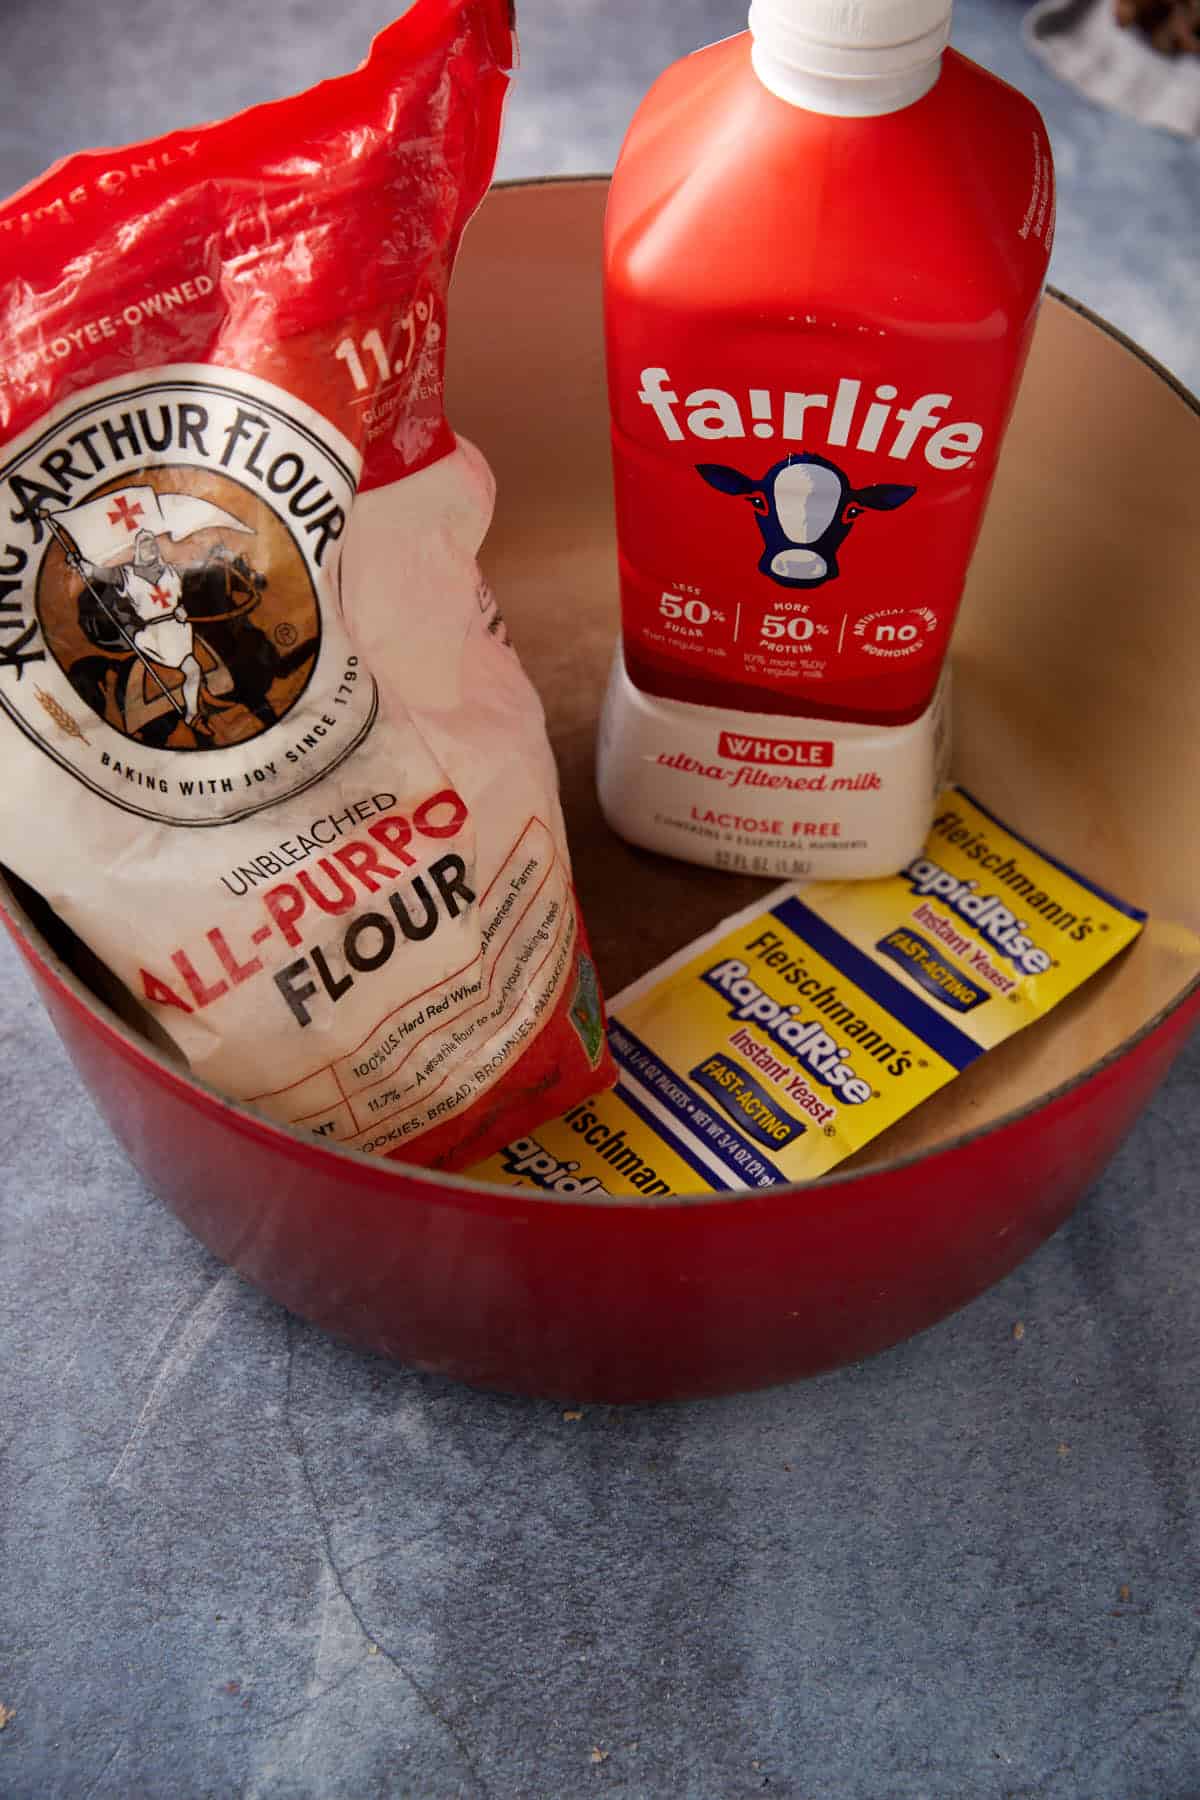
- Main Ingredients: flour, warm water, instant dry yeast, salt, milk, Coarse salt
- Why You'll Love It: This beginner-friendly Dutch oven bread uses simple pantry ingredients and a no-knead method that does most of the work for you. The dough rises slowly in the refrigerator, which improves flavor and makes it easier to handle. Baking it in a preheated Dutch oven creates a crackly crust and a tender interior that feels bakery-worthy at home.
What Makes This Method So Beginner-Friendly
Dutch Oven Bread rewards patience over skill. Letting the dough rest slowly in the refrigerator builds flavor and keeps the inside soft and light. It also makes the dough easier to handle, which is a gift for anyone still getting comfortable with bread making.
You don’t even have to knead this bread, how cool is that!
My All-American Summer Menu 🇺🇸
FREE EMAIL BONUS: Delicious summer recipes just in time for the season
The dough keeps well in the refrigerator for up to a week, so fresh bread recipes become something you can work into your schedule without much planning. The recipe makes two loaves, bake one now and refrigerate the rest of the dough for another night. If you want a quicker homemade bread, try a soft oatmeal bread that melts in your mouth.
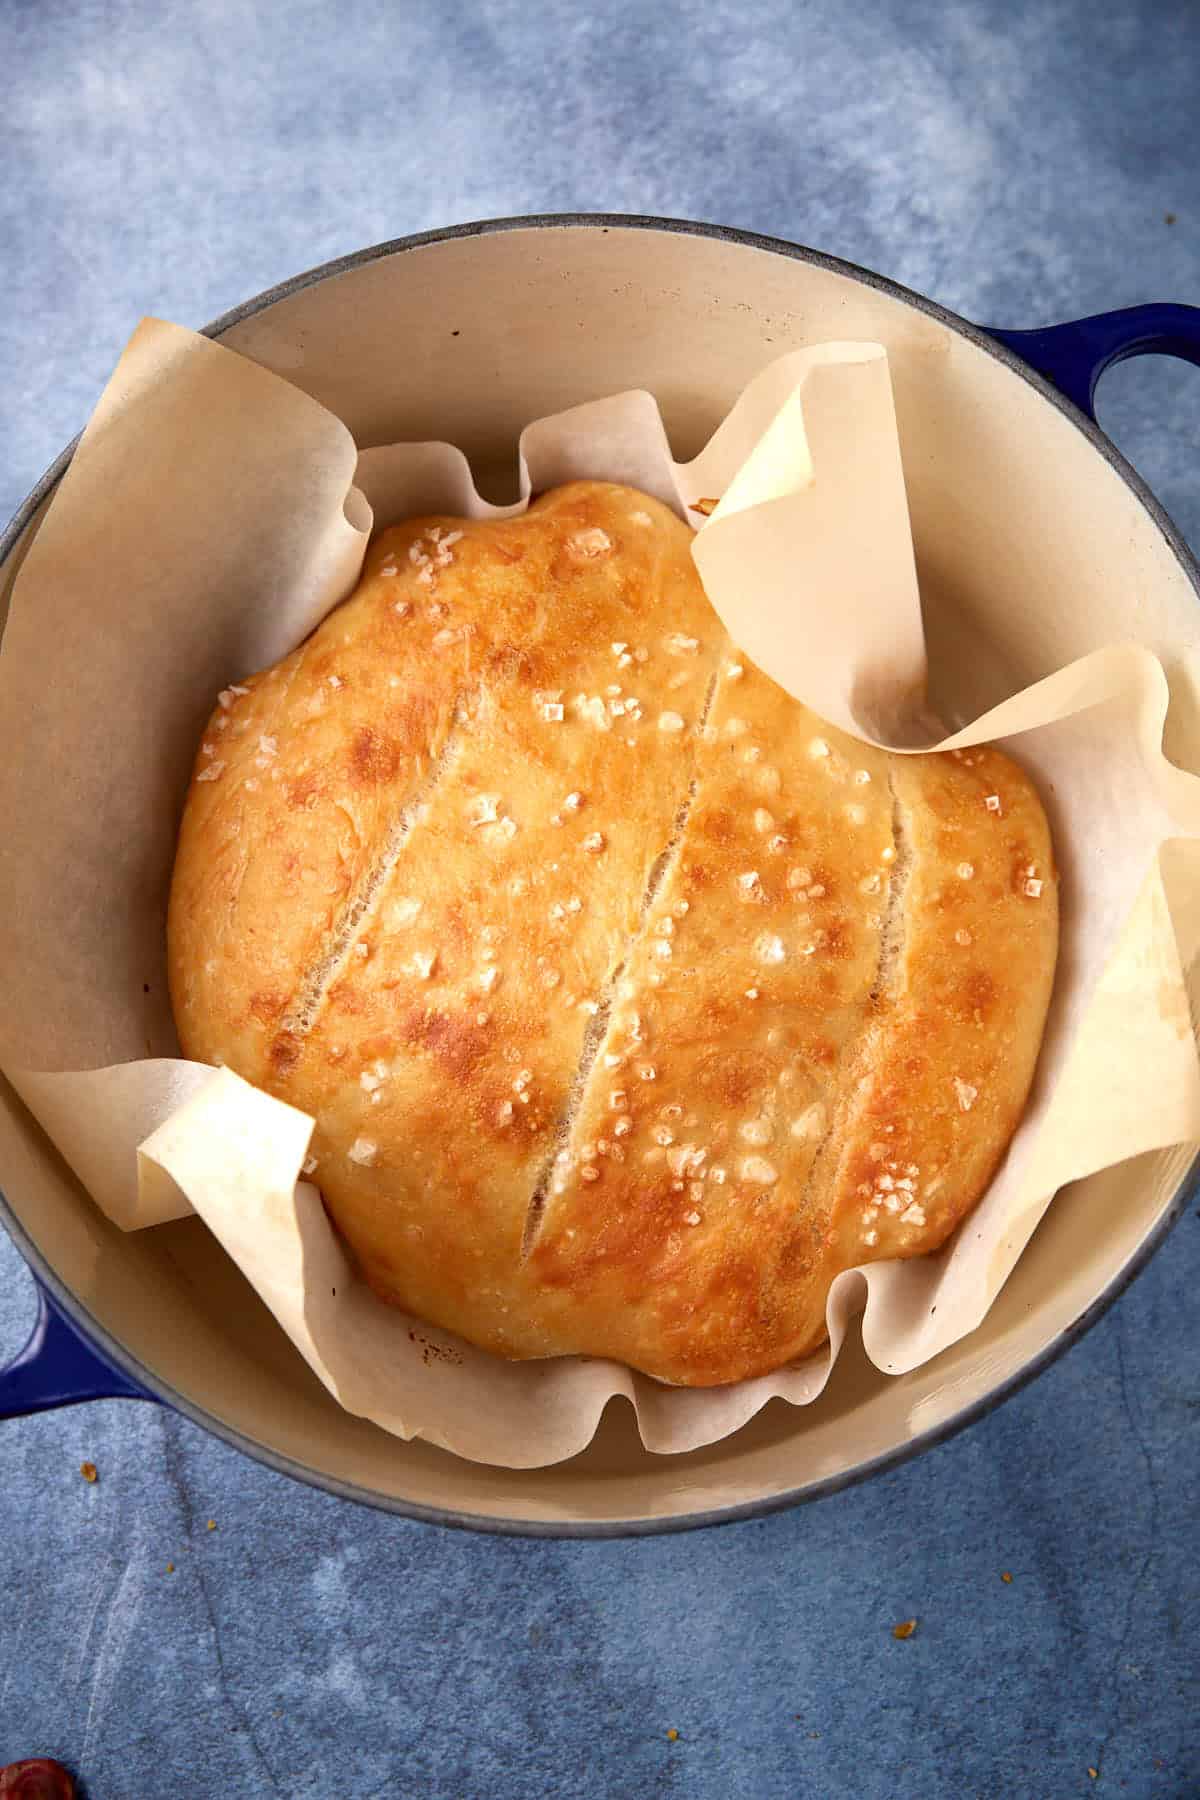
The Dutch oven creates the crust that makes this bread so satisfying. Heating it ahead of time builds a sealed pocket of heat that traps the steam, and that steam helps the bread rise quickly and form a crisp outer layer. Adding a little water to a separate pan gives you extra steam for an even bolder, crackly finish.
Your Pantry Guide to Easy Dutch Oven Bread
You only need three main ingredients to make this easy no-knead bread. Make sure to check the recipe card for all the ingredients and measurements.
- Instant dry yeast: This gives the dough a quick, reliable rise without any extra steps. If active dry yeast is what you have on hand, you can use it. Let it dissolve in warm water with a small pinch of sugar, then give it about 5 to 10 minutes to turn foamy before mixing it into the dough.
- Dutch Oven: The size will determine the shape of the loaf, it will spread out more in a large one and be taller in a smaller one. I typically use a 5 qt one, but you can use a smaller one.
The Beginner’s Guide to Foolproof Dutch Oven No-Knead Bread
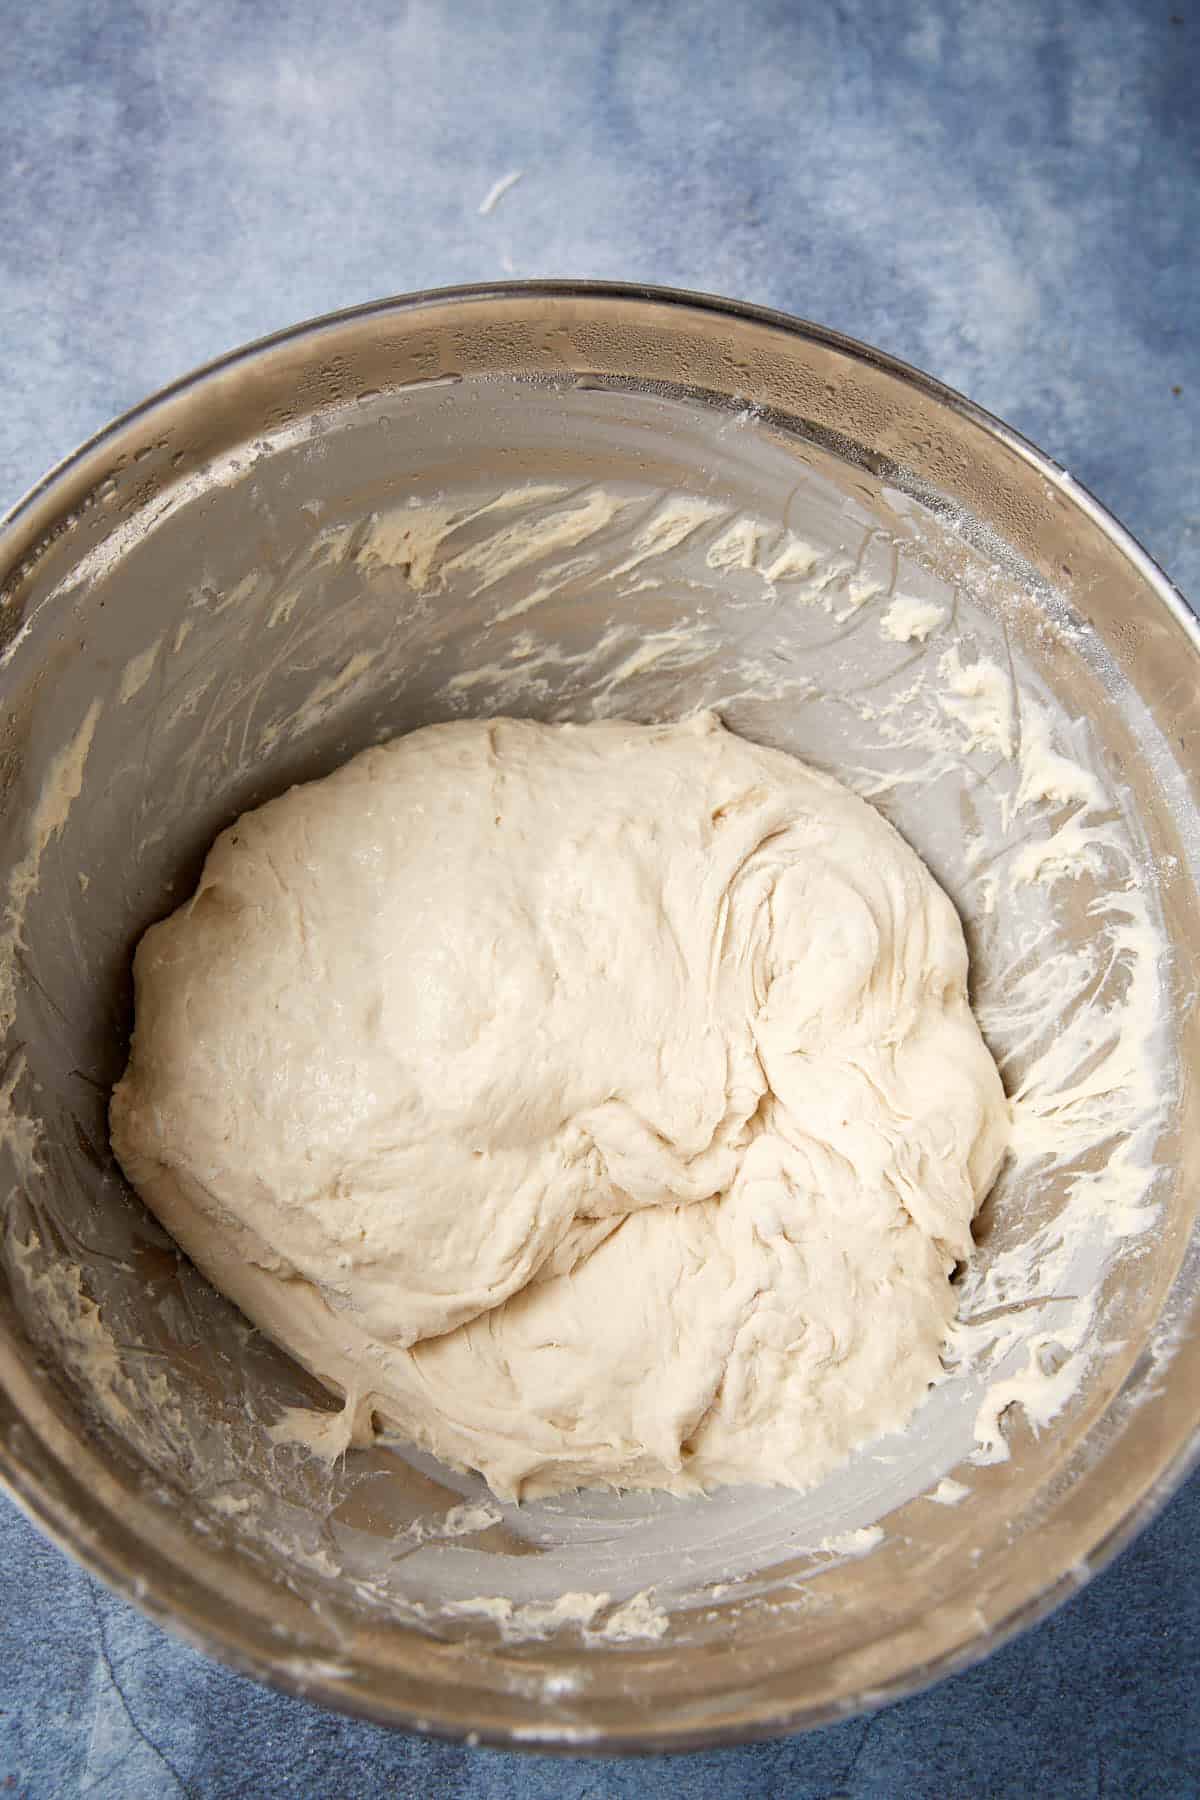
Step One: Mix the Dough
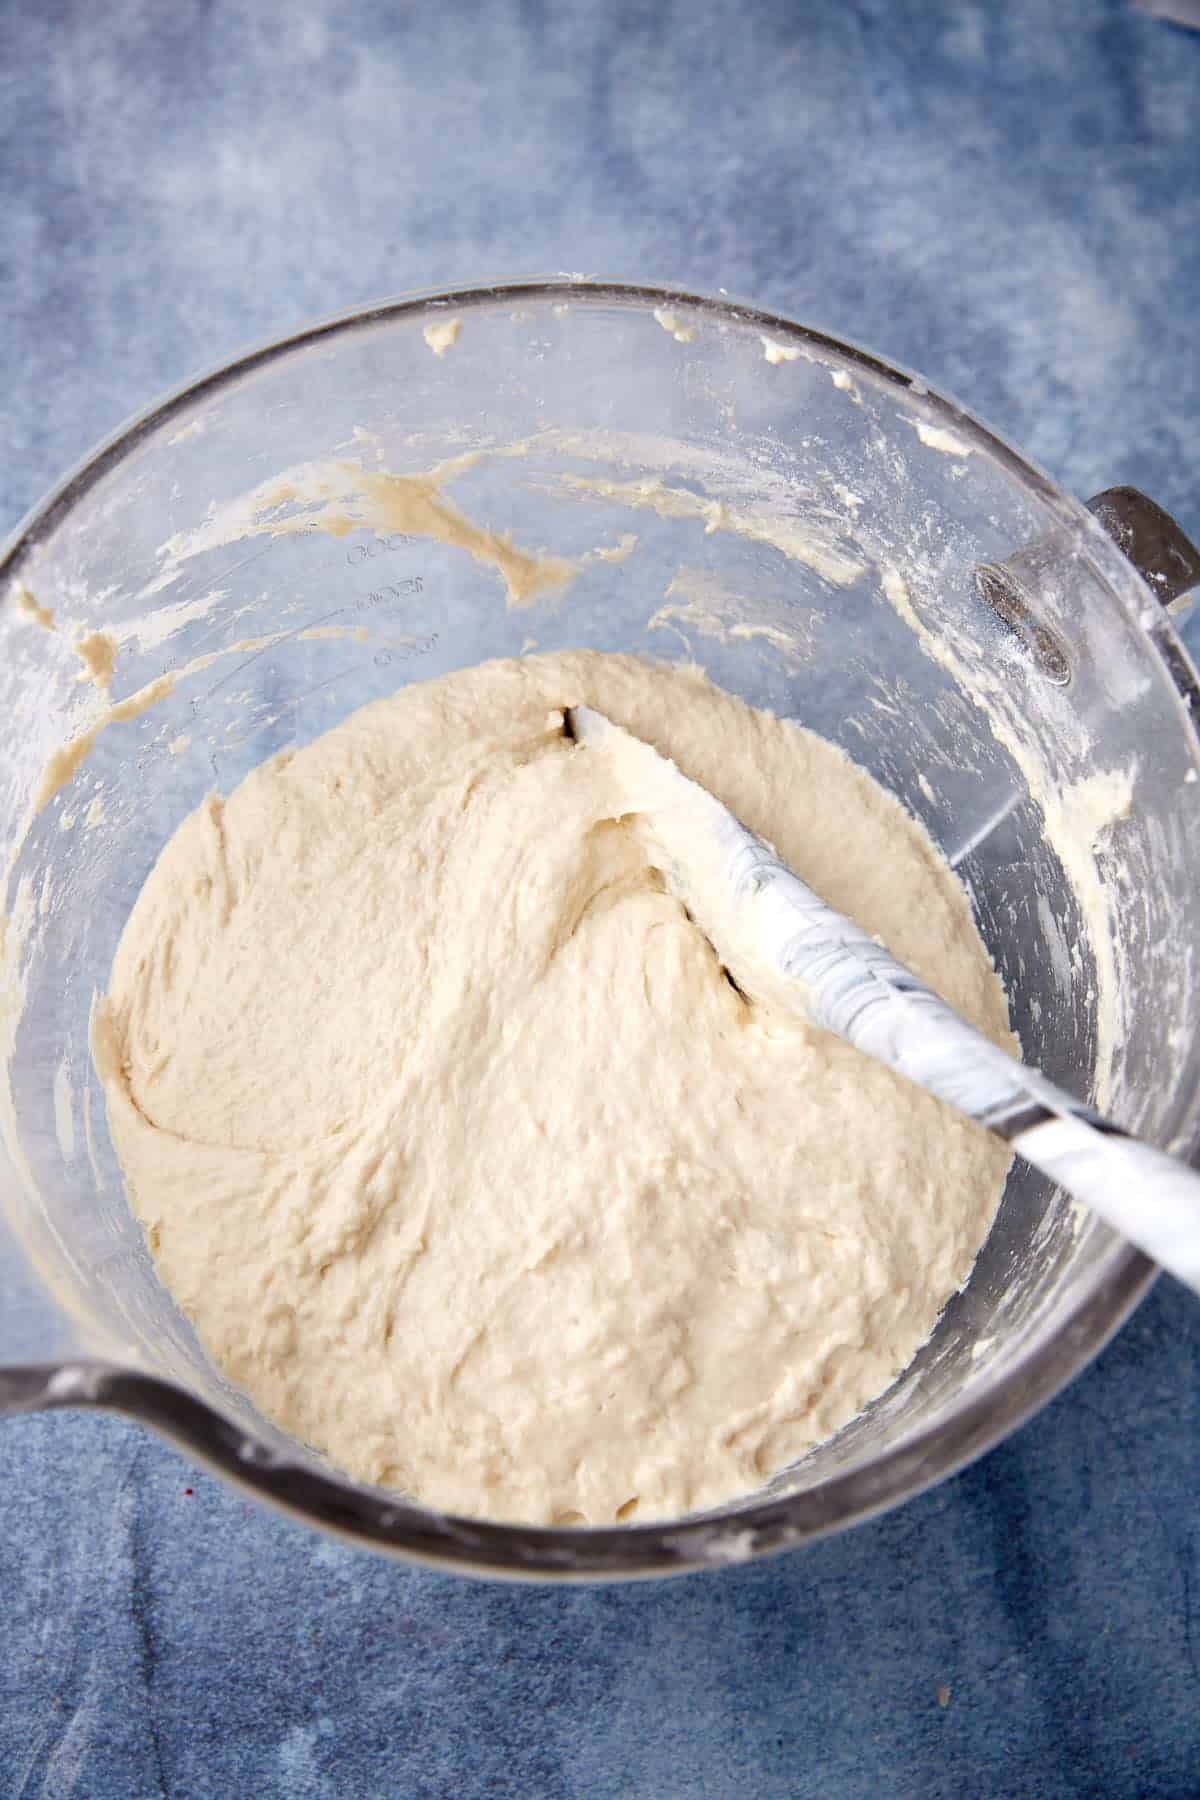
Tip: Sticky dough is normal. Skip the extra flour, which can weigh the dough down and take away some of its softness.
Step Two: Let It Rise and Chill

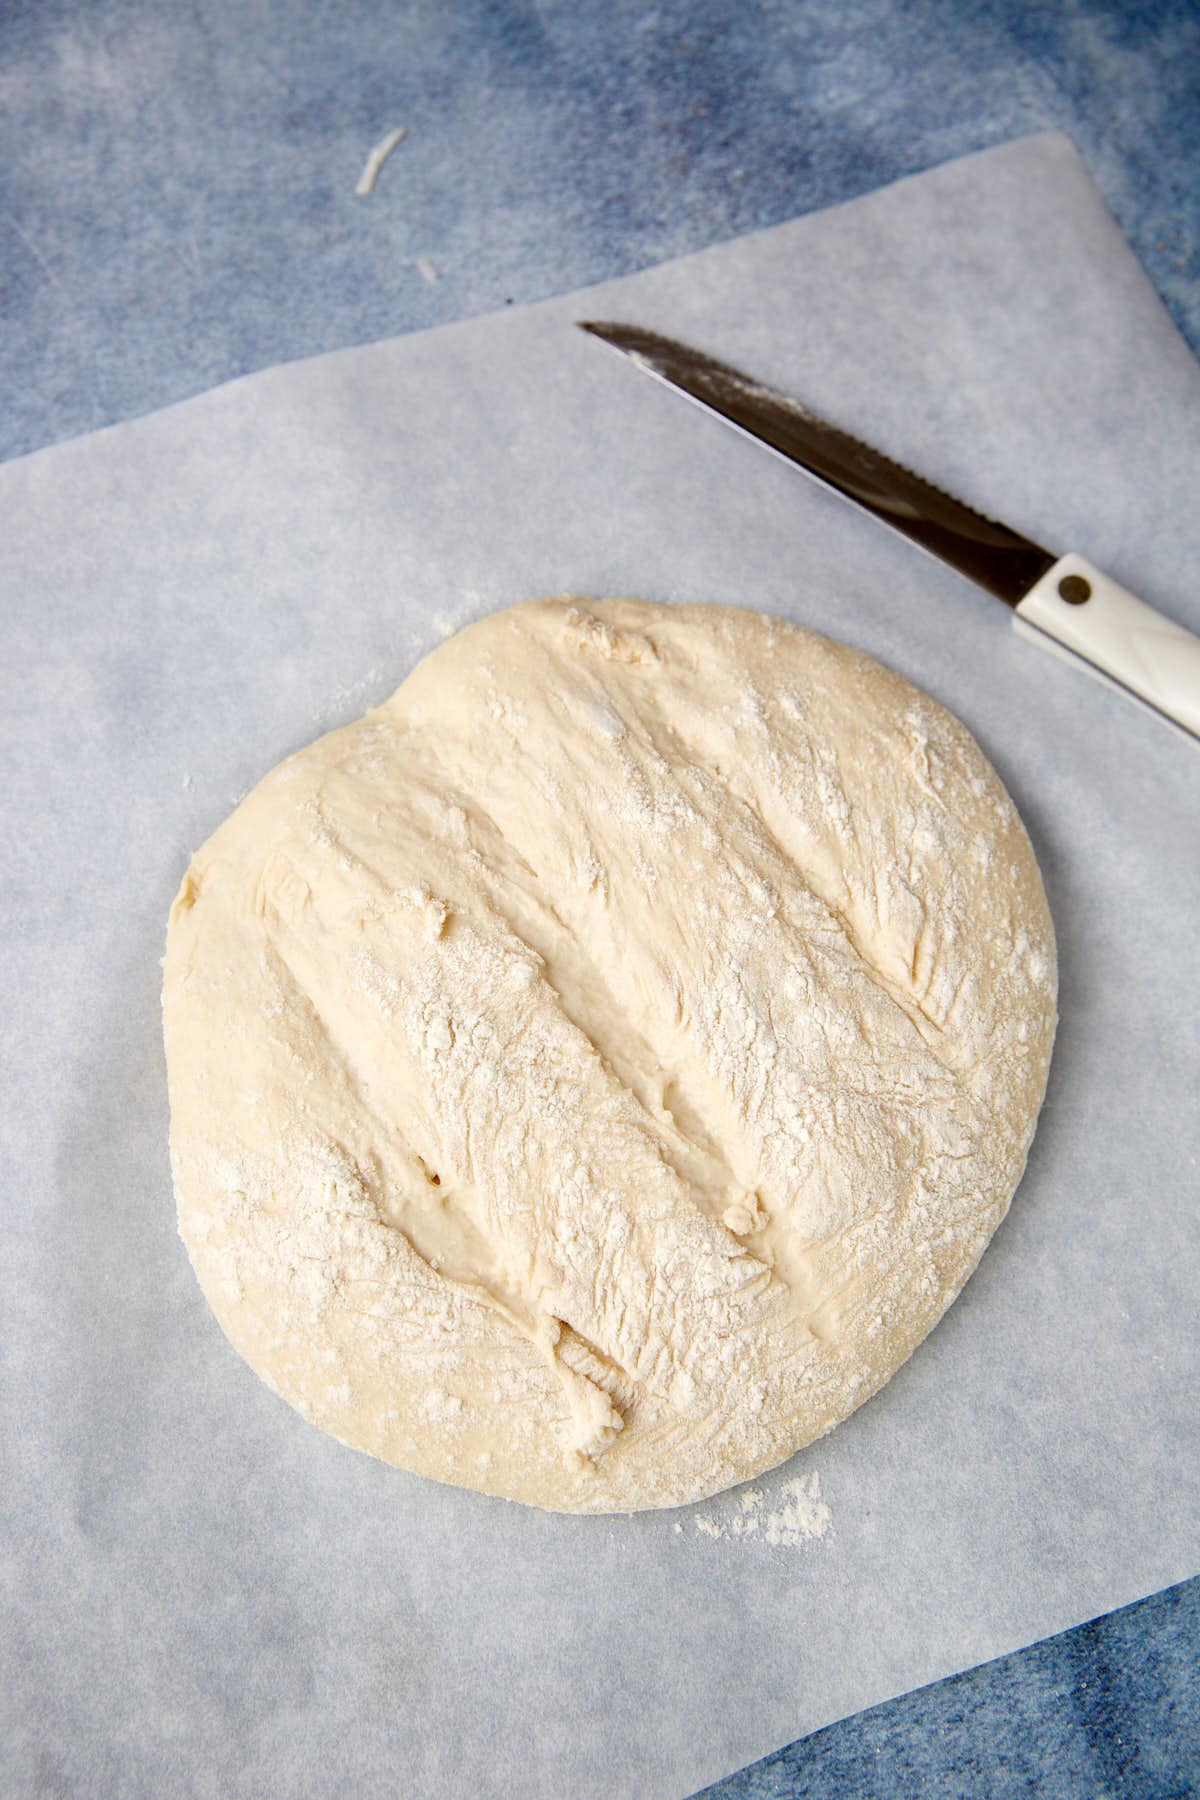
Step Three: Shape the Loaf
Tip: Handle the dough gently to keep the air inside.

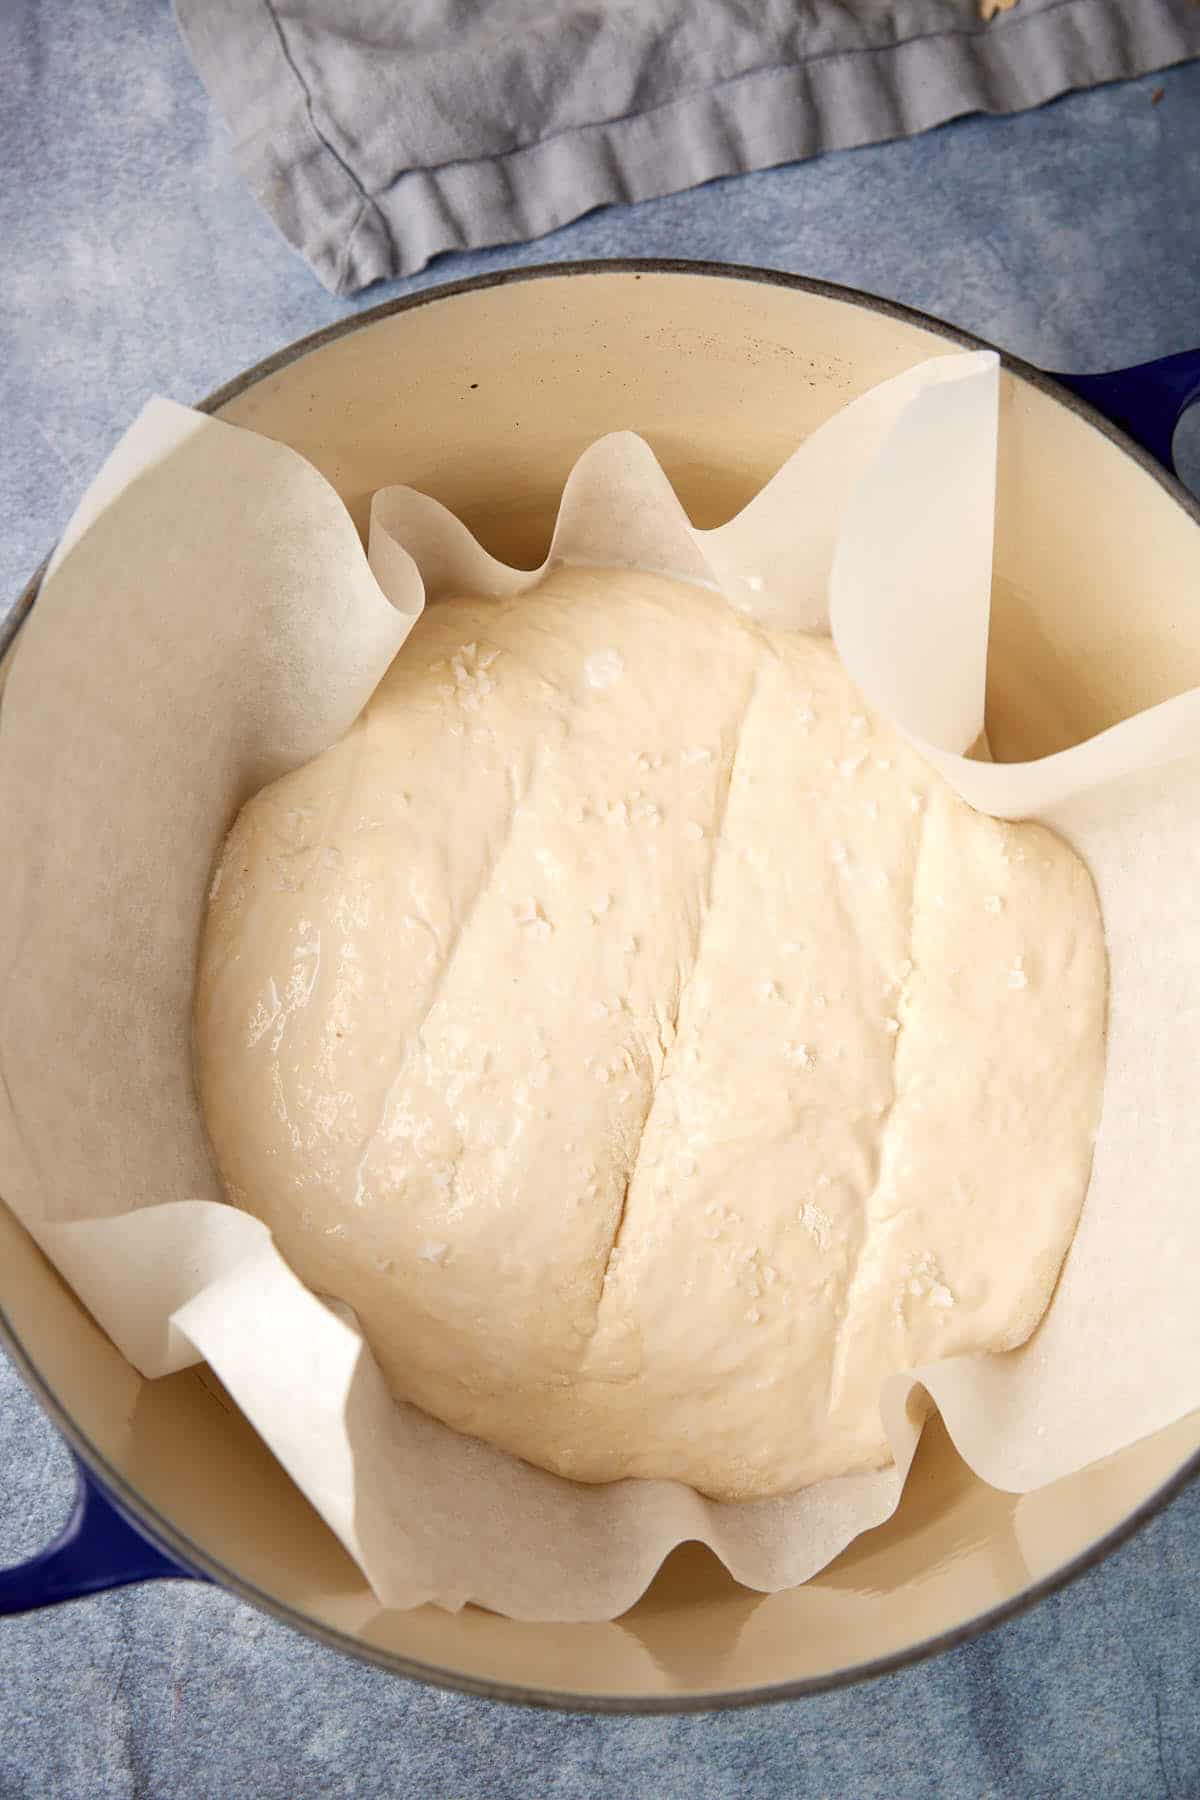
Step Four: Heat the Dutch Oven
Preheat the pot on the lowest rack at a high temperature. Adding a separate hot pan lets you introduce steam safely.
Step Five: Slash, Brush, and Bake
This dough makes two loaves of bread, one for now and one for later.
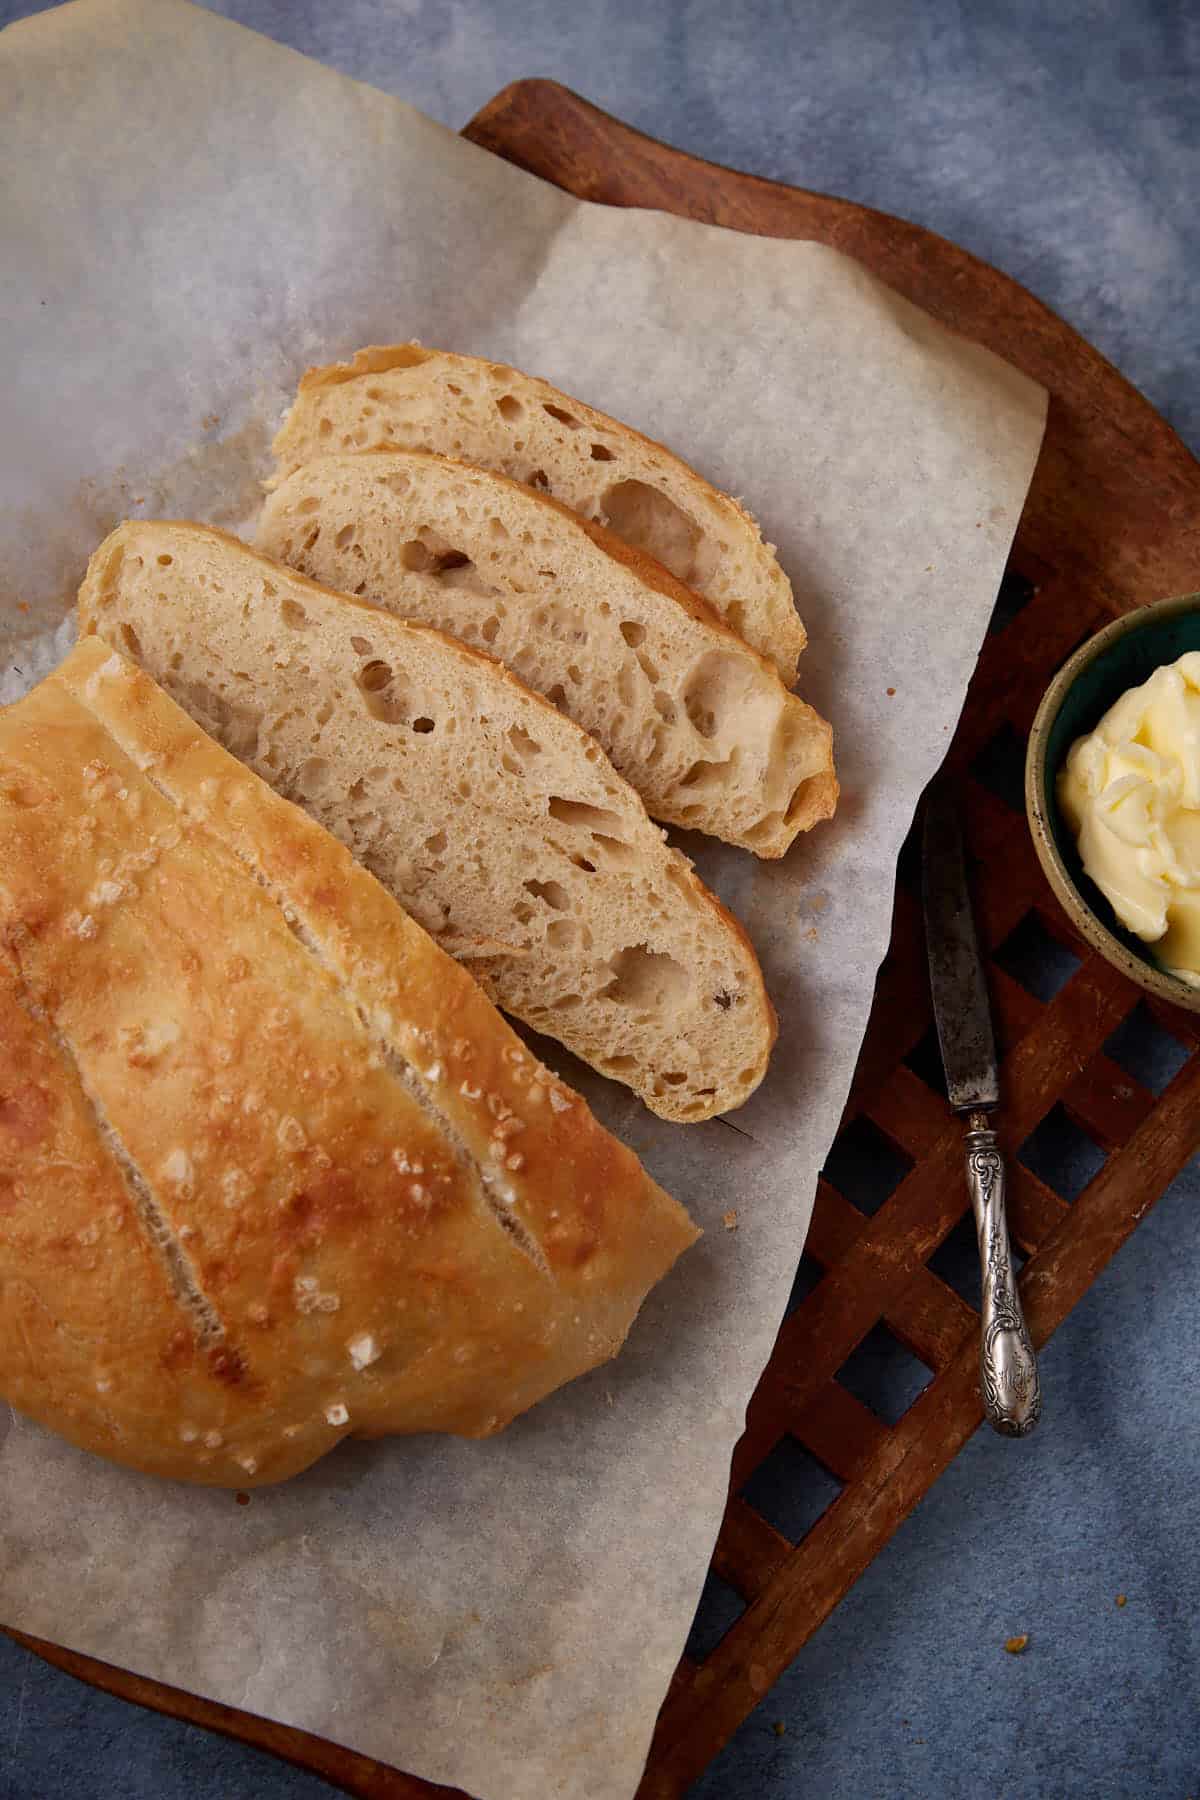
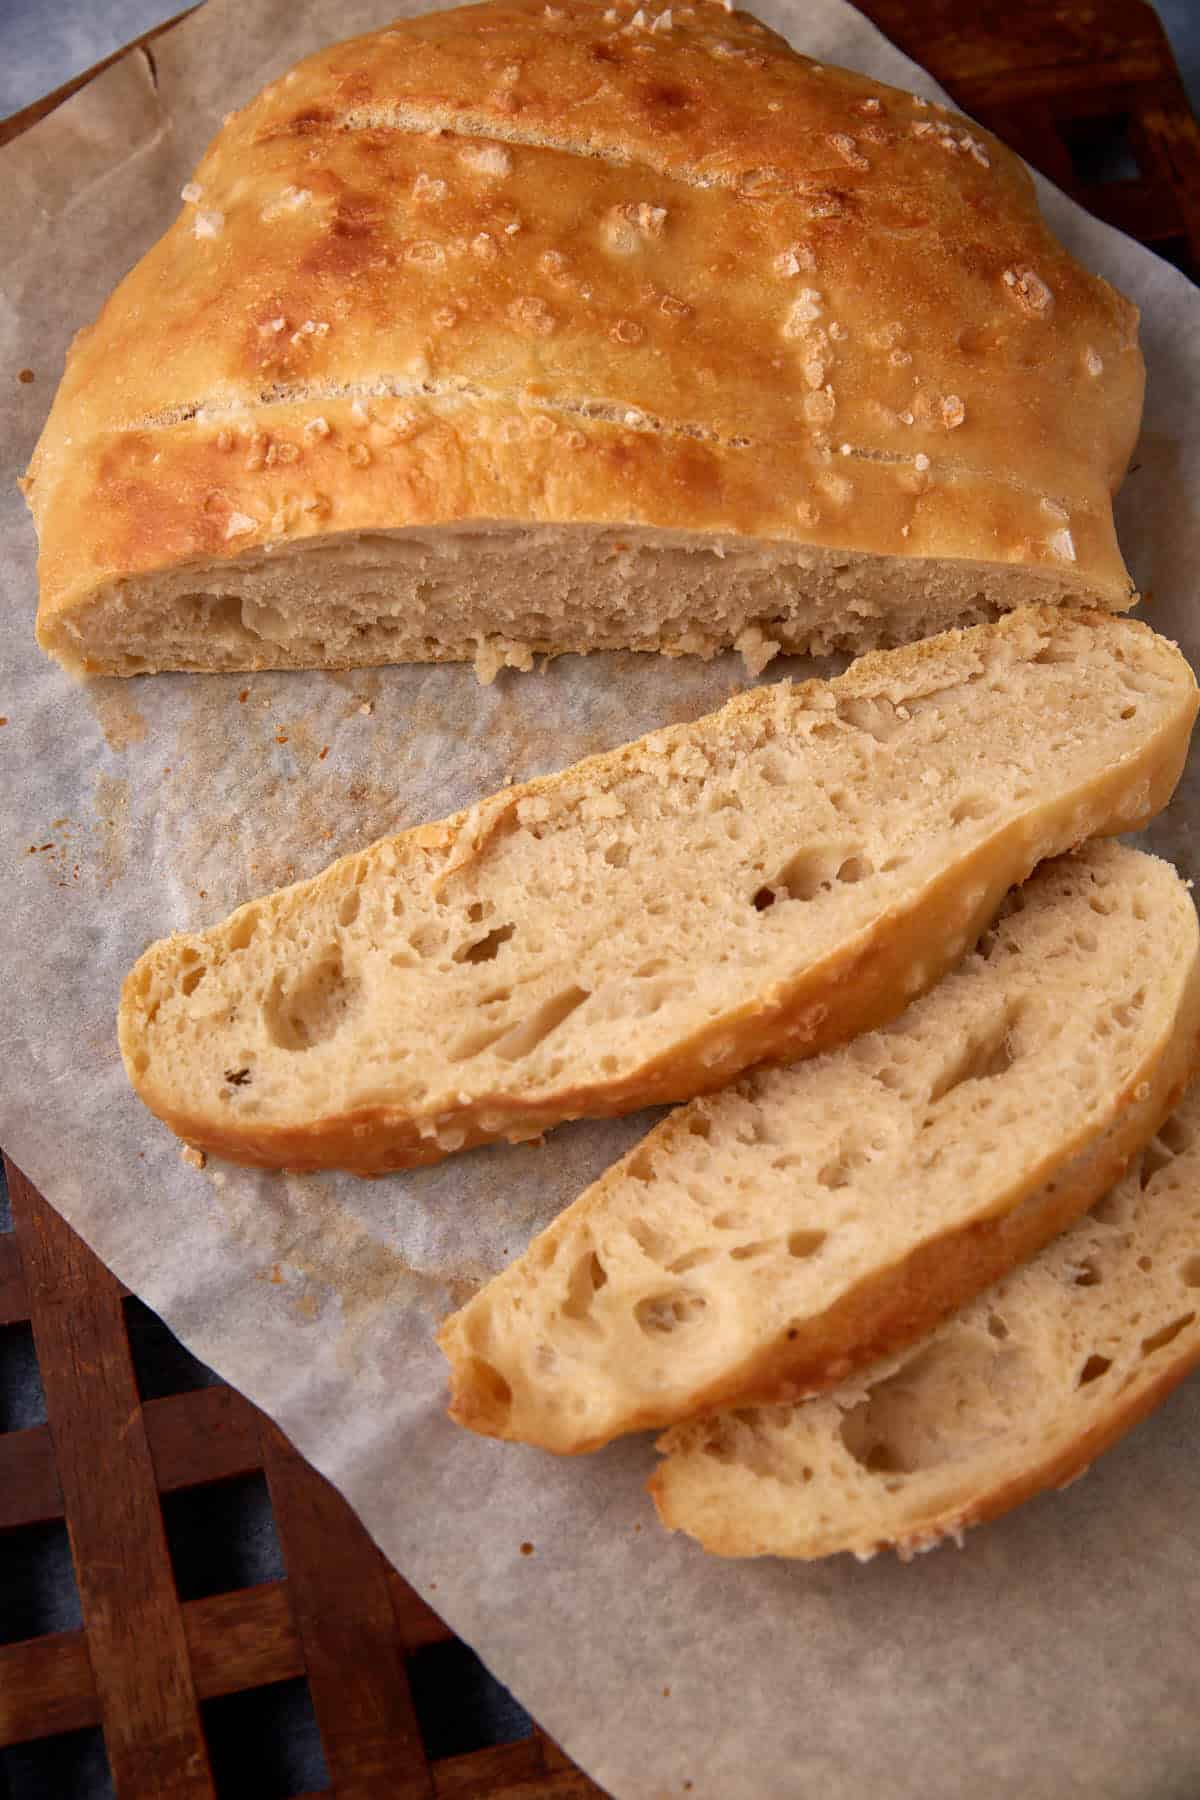
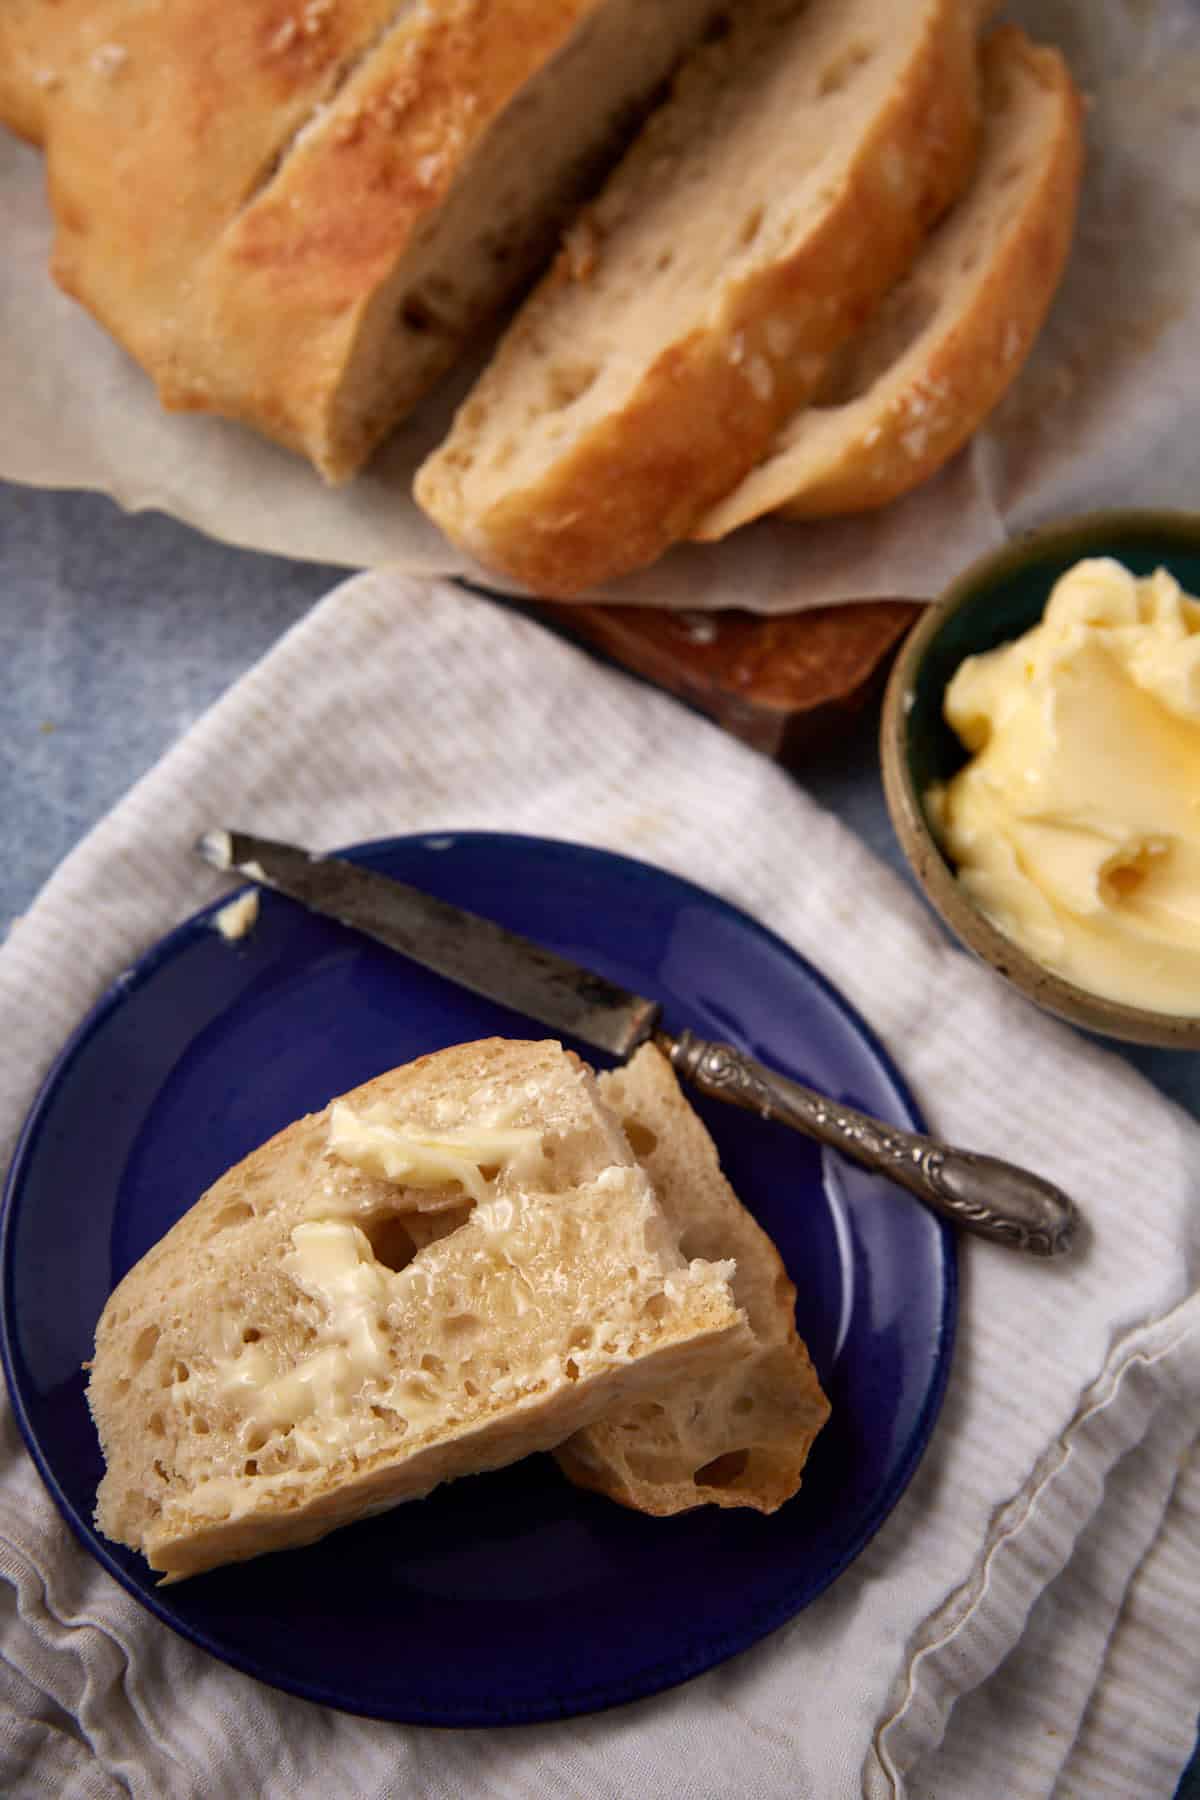
This is wonderful warm with butter. Try serving it when you’re making a big pot of taco soup in the slow cooker or pull out some homemade strawberry jam and have a slice for breakfast.
Once you’ve made this type of bread a time or two, you’ll get the hang of it. It’s the kind of bread you make once and then quietly add to your regular rotation, because warm, homemade bread should never feel complicated.

If you loved this recipe, give it a star ⭐️⭐️⭐️⭐️⭐️ rating! Also, snap a picture of your finished dish and share it with me on Instagram using the hashtag #butterandbaggage and tagging me @butterandbaggage.

No-Knead Dutch Oven Bread with a Crisp Crust and Soft Center
Equipment
Ingredients
- 6 cups flour
- 3 cups warm water
- 2 packages instant dry yeast
- 1 tablespoon salt
- ⅛ cup milk
- Coarse salt
Instructions
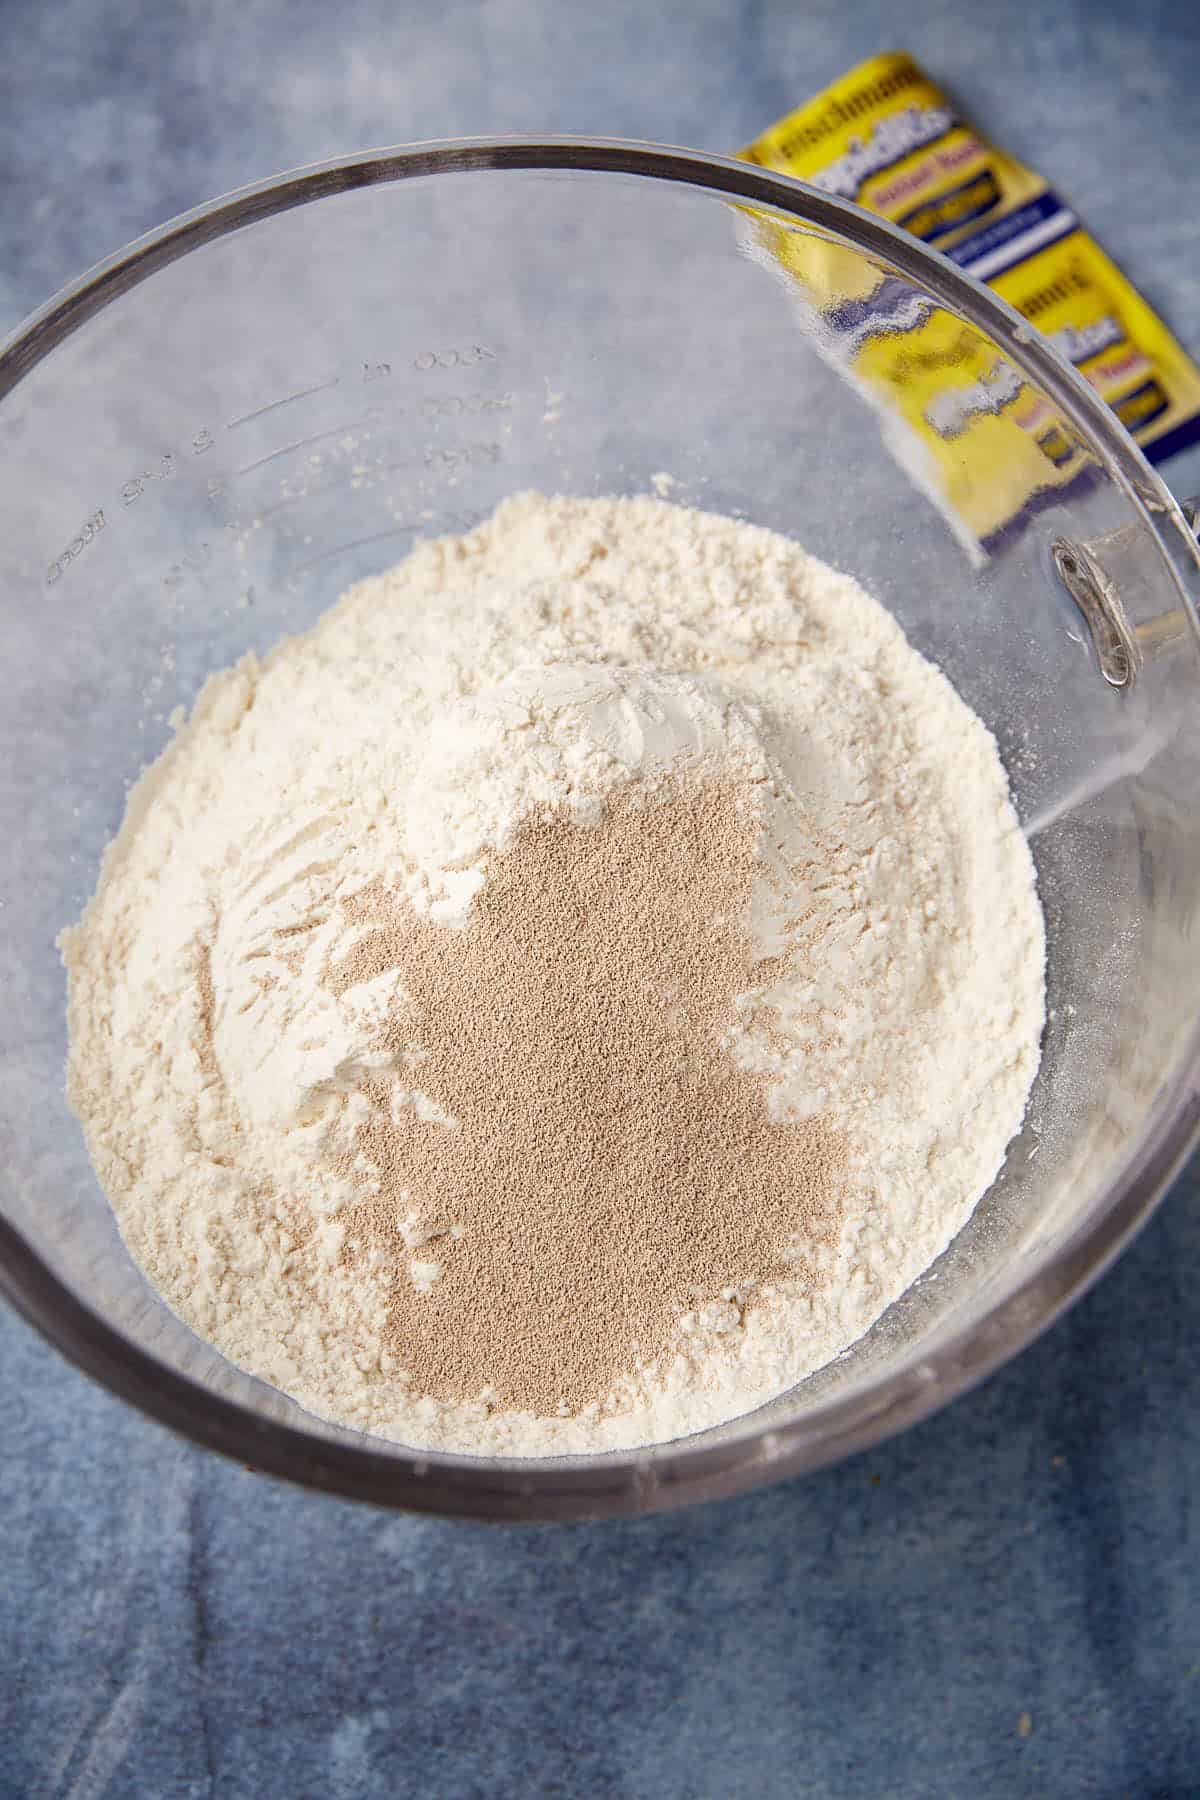
- Add the flour, yeast and salt to the bowl of a stand mixer or a large mixing bowl. Add the warm water and stir with a spoon until combined. If using a stand mixer, use the paddle attachment and mix for about 1 minute until combined. It will be very sticky.
- Place in a very large bowl, and cover with plastic wrap. Let it sit at room temperature for about 2 hours, then refrigerate for at least 2 hours, but preferably overnight and up to 7 days.
- Remove the bread from the refrigerator. Flour your hands and sprinkle the top of the dough with a little flour. Remove half of the dough and place it on a floured surface. Refrigerate the rest of the dough for another loaf. Use your hands to shape it into a round ball. Place on a piece of parchment paper and sprinkle with a light dusting of flour. Let it rise for about 1 hour. It won’t get taller, but will expand some. Cover and refrigerate the remaining dough.
- While the bread is rising, add the Dutch oven to the lowest rack in the oven and preheat to 450º. Add a small cast iron or metal pan to the oven.
- When the dough is ready, slash the top with a sharp knife, 2-3 times about ½ inch deep. Brush the bread with milk and sprinkle with coarse salt.
- Transfer the bread, on the parchment paper, to the hot Dutch oven. Cover and place in the oven. Do not take the bread off the parchment paper. Pour a cup of water into the iron skillet or metal pan and close the door before the steam comes out.
- Bake for 20 minutes covered, then remove the lid and bake an additional 15 minutes until the crust is a deep golden brown. Use the edges of the parchment paper to remove the bread and place on a rack to cool.
Barbara’s Tips + Notes
- This recipe makes 2 loaves of bread.
- Make-ahead: Keep the dough refrigerated for up to a week and bake when needed.
- For cleaner slices: Use a serrated knife and a gentle sawing motion once the loaf is completely cool. Warm bread will compress and tear.
- The size of the Dutch oven will determine the shape of your dough. The dough will spread out more in a large Dutch oven.
Nutrition
 Follow Me On SocialDid you make this recipe? Mention @ButterandBaggage or tag #ButterandBaggage
on Instagram!
Follow Me On SocialDid you make this recipe? Mention @ButterandBaggage or tag #ButterandBaggage
on Instagram!
Thomas A Stutts says
More of a question than comment, so does this make two loafs? You say take half the dough, but never say what to do with the other half nor does recipe say quantity of 2. Sorry I’m a little slow here.
Barbara Curry says
I wasn’t very clear, it makes two loaves. Just refrigerate the rest of the dough until you’re ready for a 2nd loaf.
Jim L Wright says
I just love making bread in my Dutch oven!
Barbara Curry says
I love the texture it gives it.
Nancy Vance says
My bread didn’t hardly rise
Do you think it’s because I’m at 5500 altitude? I followed your instructions.
Barbara Curry says
This bread doesn’t get very tall, but it does rise pretty high in the fridge. I have never cooked at high altitude, but if your yeast is fresh, I don’t have any other explanations.
Elizabeth says
Hi, im so excited to try your bread recipe! Is a 3 quart dutch oven to small
Barbara Curry says
Not at all.