

There’s no need to buy a store-bought graham cracker crust again. With just 3 ingredients you can easily make your own crust that tastes so much better with hardly any effort. Elevate your amazing pies with a homemade crust in just 15 minutes!

A Quick Look At The Recipe
- Recipe Name: Homemade Graham Cracker Pie Crust - Just 3 Ingredients
- Main Ingredients: graham crackers, butter, sugar, salt
- Why You'll Love It: There's no need to buy a store-bought graham cracker crust again. With just 3 ingredients you can easily make your own crust that tastes so much better with hardly any effort. Elevate your amazing pies with a homemade crust in just 15 minutes!
Make Your Own Buttery Graham Cracker Crust
There is nothing easier than making a graham cracker crust for your favorite cream pies or no-bake pies. While some cream pies, like banana cream pie or coconut cream pie can be made in either a regular butter crust or a graham cracker crust, some pies are just better with a graham cracker pie crust.
If you’re like me there are times, I just don’t feel like going to the trouble of making a traditional pie crust. That’s when you need a graham cracker crust recipe.
My All-American Summer Menu 🇺🇸
FREE EMAIL BONUS: Delicious summer recipes just in time for the season
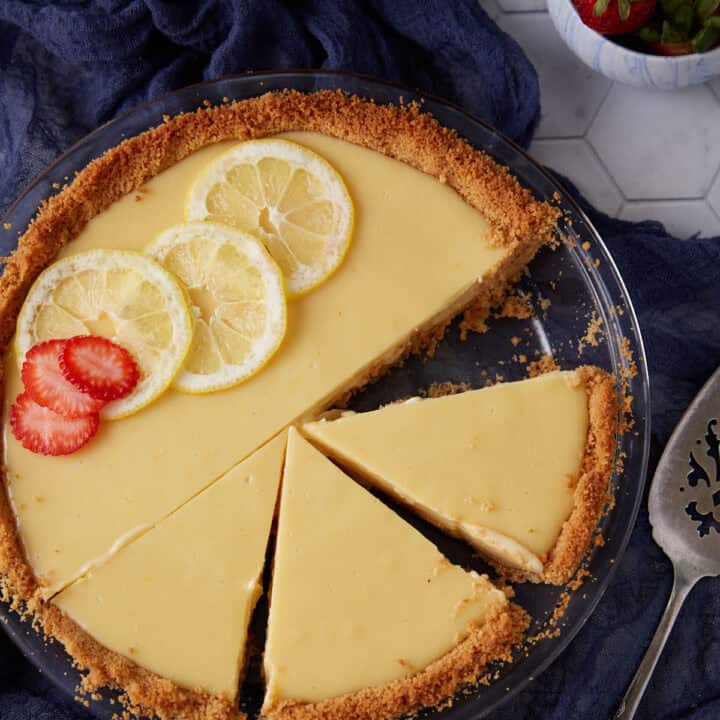
This homemade crust is the perfect blank canvas for all kinds of sweet and creamy pie fillings. Graham cracker crust is particularly well-suited for cream or custard pies. They hold up in the refrigerator without getting mushy, and the crisp texture is the perfect contrast for the creamy, smooth filling of lemon chiffon pie or peanut butter pie.

Making a homemade graham cracker crust is one of the easiest ways to elevate a simple pie. Store-bought graham cracker crusts can work in a pinch, but they lack the enticing flavor and aroma of a crust made with real butter. Plus, making it at home is just as easy as picking up a store-bought crust, and the result is so much better.
With just three ingredients, you can make a perfect homemade graham cracker crust in just fifteen minutes. A food processor speeds things up, but it’s not necessary, as you can crush the graham crackers in a Ziploc bag with a rolling pin.

Pies with a Graham Cracker Crust
- Everyone loves this no-bake strawberry cream cheese pie, which is a mix between an icebox pie and a no-bake cheesecake – it’s perfect for potlucks and cookouts.
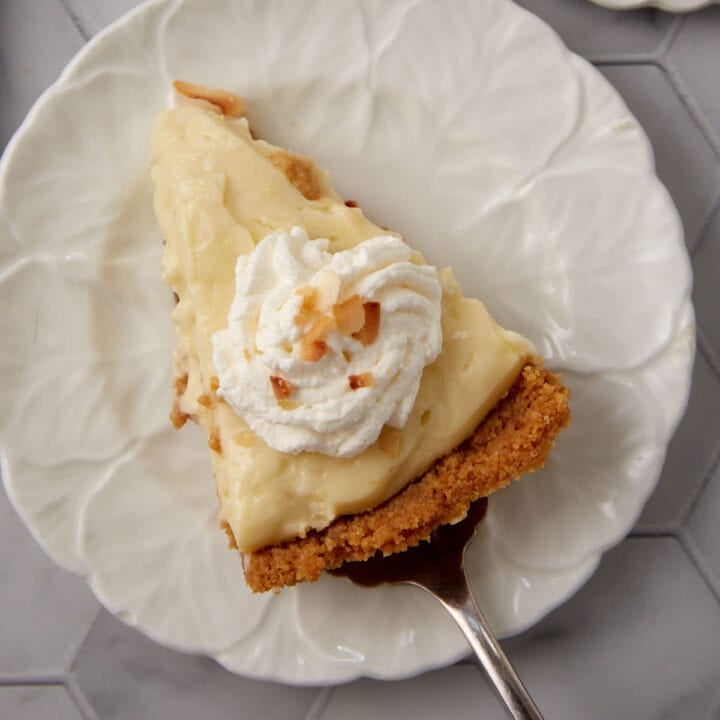
- For a classic choice, a coconut cream pie or banana cream pie are Southern favorites.
- For a dessert that is as easy as it is rich and decadent, you can’t go wrong with no-bake peanut butter pie. It has a layer of homemade chocolate ganache that is absolutely mouthwatering and so easy to make.
- For the simplest pie ever, try a lemonade pie, the graham crackers compliment the sweet lemon filling.
- It works great with a strawberry chiffon or lemon chiffon pie.
- In the summer, use it for a peach custard pie
There are infinite ways to use this simple crust, about the only types of pies it won’t work on are fruit pies with a heavy juicy filling like apple pie or a savory tomato pie or quiche where the flavors just wouldn’t mesh. You can also use this crust on an Ice Cream pie.
Should You Bake a Graham Cracker Crust?
You do not have to bake a graham cracker crust, placing it in the refrigerator will firm it up as the butter gets cold. This will be fine for some no-bake pies like a strawberry cream pie where the filling is very thick and the crumbs will stick to the filling.
However, with some cream filled pies, the crust can come off of the filling when you cut the pie. Baking the pie crust first will cause the sugar to crystalize and holds the crust together better. So if you want to make sure the crust sticks to the pie when you cut it, you’ll get better results if you bake it first.
Reasons You’ll Love this Homemade Graham Cracker Pie Crust
- Endlessly versatile: Homemade graham cracker crust is the perfect canvas for so many recipes. The possibilities for fillings are truly endless, and you can get really creative with what kind of pie you make with this crust.
- Quick and simple: Making a homemade graham cracker crust only takes fifteen minutes and three ingredients.
- Buttery and crispy: The crunch of the graham crackers mixed with butter is both rich and crispy. It’s the perfect companion for rich, sweet fillings topped with whipped cream.
Why bother making a homemade graham cracker crust?
Graham cracker crust is absolutely worth making from scratch – it tastes so much better than a store-bought crust. Store-bought graham cracker crusts use palm oil rather than butter to make them shelf-stable, meaning they don’t have any of the amazing, milky flavor you get from using real butter. Making a homemade crust only takes a couple of minutes, and it makes any dessert so much better.
Graham Cracker Crust Recipe Ingredients

- Graham Crackers – You can use any brand of graham crackers that you like. For most pies, I recommend using honey graham crackers, which have a neutral flavor and work well with any flavor of filling. Most brands offer both honey and cinnamon graham crackers, and the cinnamon ones do have a strong cinnamon flavor, so check the label before you buy. You will need 12 graham crackers for 1 ½ cups of crumbs.
- Butter – Butter holds the crust together. The melted butter solidifies when the pie goes in the refrigerator, or is baked keeping the crust together and making it strong enough to hold up to a heavy, creamy filling.
- Sugar – Granulated sugar adds a bit of sweetness but when baked helps hold the crust together. You can also use brown sugar.
Can I use store-bought graham cracker crumbs?
Store-bought graham cracker crumbs are a convenient and accessible option but as with pre-made crusts they can be stale and not have the flavor that fresh graham crackers add. However, I know they’re a quick and easy option, and they will work just fine.
How To Make a Crisp, Buttery Graham Cracker Crust
Step 1: Grind the graham crackers.
Place the graham crackers into the bowl of a food processor and pulse until small crumbs form add the sugar and pulse.


Alternatively, you can place the crackers into a gallon-sized Ziploc bag and crush them with a rolling pin, wine bottle, or pint glass.

Step 2: Mix in the butter.
Drizzle the melted butter into the food processor and pulse a few more times until the mixture looks like wet sand.


If you crushed the crackers in a bag, place the crumbs into a bowl and drizzle the butter evenly across the top. Use a rubber spatula, wooden spoon, or your hands to mix the butter into the crumbs.
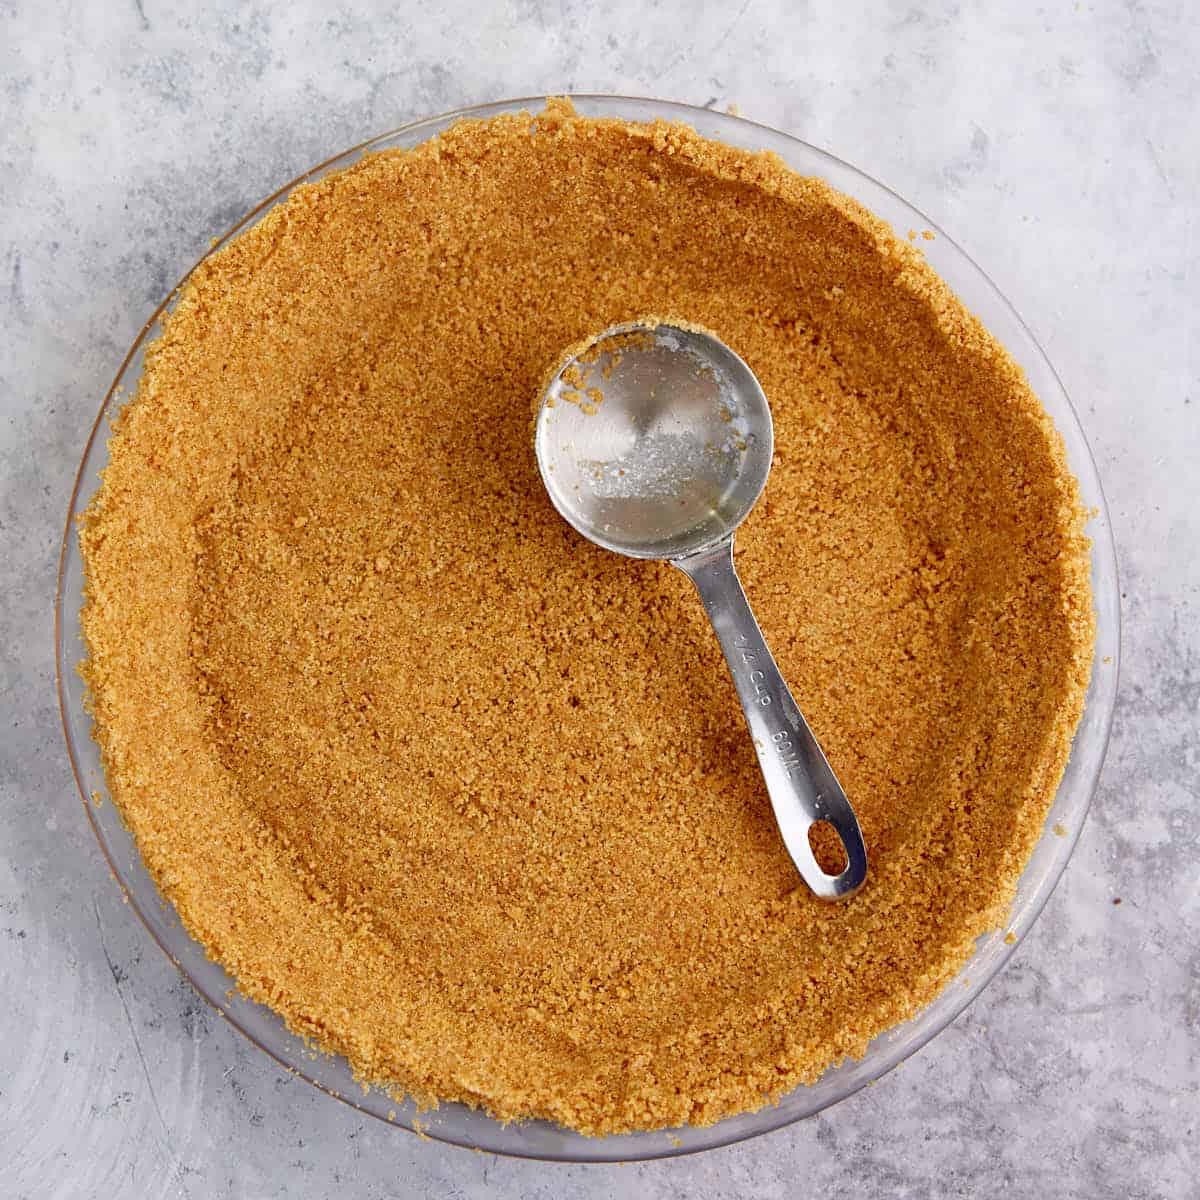
Step 3: Press the crust and bake or chill
Dump the crust mixture into a pie pan. Use your hands, press the crust into the bottom and up the sides of the pie pan. Once in place, use a measuring cup or glass to press the crust into place.


Bake at 350º for 8 minutes or refrigerate for at least 30 minutes before filling to allow the butter to firm up.

How to Store Graham Cracker Pie Crusts
You can store the graham cracker crust in the refrigerator for up to two days before filling it. Just ;let it cool uncovered in the fridge until it has hardened, then cover it with plastic wrap so that it doesn’t dry out.
You can also freeze the graham cracker crust. Wrap it tightly in plastic wrap or store it in a Ziploc bag. The frozen crust will last up to two months. Thaw the crust in the refrigerator overnight before filling it.
Tips for Making a Graham Cracker Crust
- Make sure the crumbs are evenly mixed with the melted butter to ensure a solid crust.
- Use the bottom of a measuring cup to press the mixture evenly and firmly into the pie pan.
- If not baking, refrigerate the crust for at least 30 minutes to allow the butter to harden.
Pies to Try with a Graham Cracker Crust


Make a Better Pie
GET MY COOKBOOK + PIE TRAINING VIDEOS
Make sure your new pies turn out the way you want.
You’ll get:
- 6 exclusive new pie recipes
- Step-by-step instructions
- 5 video trainings (from eggs to crust)
If you loved this recipe, give it a star ⭐️⭐️⭐️⭐️⭐️ rating! Also, snap a picture of your finished dish and share it with me on Instagram using the hashtag #butterandbaggage and tagging me @butterandbaggage.
Homemade Graham Cracker Pie Crust – Just 3 Ingredients
Ingredients
- 11/2 cups graham crackers 12 crackers
- 6 tablespoons butter melted
- 3 tablespoons sugar
- ⅛ teaspoon salt
Instructions
- Preheat the oven to 350º.
- Place graham crackers in a food processor and process until crumbs are formed. Add sugar and pulse. Add melted butter and salt and process again until fully blended. Alternatively, place the crackers in a Ziploc bag and use a rolling pin to grind them into crumbs. Then, add the the sugar, salt and melted butter and mix together with a rubber spatula.
- Place the mixture in a 9 inch pie dish and pat down with your hands until it covers the sides and bottom of the pan.
- Press down with a flat surface like the bottom of a measuring cup.
- Bake for 8 minutes then cool before filling. If you do not want to bake the crust, refrigerate for at least 30 minutes before filling.
Barbara’s Tips + Notes
- Make sure the crumbs are evenly mixed with the melted butter to ensure a solid crust.
- Use the bottom of a measuring cup to press the mixture evenly and firmly into the pie pan.
- If you are not baking the crust, then refrigerate the crust for at least 30 minutes to allow the butter to harden.
Nutrition
 Follow Me On SocialDid you make this recipe? Mention @ButterandBaggage or tag #ButterandBaggage
on Instagram!
Follow Me On SocialDid you make this recipe? Mention @ButterandBaggage or tag #ButterandBaggage
on Instagram!
Leave a Reply