

Making a no-fail pie crust from scratch is easier than you might think. With a few simple steps and basic ingredients, you’ll have a tender and flaky crust pie with a buttery flavor that’s hard to beat.

Have you ever made homemade pie crust? If you buy your crust from the store because making one from scratch sounds too complicated, I’m here to change your mind and give you some easy steps for how to make pie crust from scratch.
Pie crust is one of the easiest recipes to make. It only takes about 15 minutes to assemble a flavorful dough with a taste and texture that tops a store-bought crust every time.
Another plus to making your pie crust is that you can shape the dough any way you like. We all love a classic double crust pie, but the options for variation are endless. Chicken Pot Pie Galette and Peach Dumplings are great examples of other ways to use your homemade dough.

My All-American Summer Menu 🇺🇸
FREE EMAIL BONUS: Delicious summer recipes just in time for the season
Consisting of three main ingredients: flour, fat and water, pie pastry has been around since ancient Greek and Roman times. Most early pies contained meat fillings and were often made using fowl. Today when we think of pie we usually picture dessert, hence the phrase “as American as apple pie.”
Why you’ll love this Butter Pie Crust Recipe
- A pie crust made with butter will taste better
- Butter creates a flaky crust
- You can add a decorative border to your pie
- It can be made months ahead of time
How to make Pie Crust with Butter from scratch
A flaky crust is determined by the fat you use and its level of incorporation into the flour before adding the liquid. Some prefer to use shortening or lard over butter because of their higher melting temperatures.
However, I think the taste of butter is superior and can produce the best pie crust, so my pie crust recipe uses only butter for the fat. The trick is to use cold ingredients and work quickly so that the butter does not have a chance to melt.

Butter Pie Crust Ingredients
My pie crust recipe makes two single pie crusts, one for now and one for later. Or it will make enough for a double pie crust. My thought is that if you’re going to the trouble to make a pie crust, go ahead and make two and you’ll have one in the freezer for a spur of the moment dessert.
- Butter – You will need unsalted butter that is very very cold, you can even put it in the freezer.

- Flour – All purpose flour.
- Water – This also needs to be very cold. Add ice cubes to a glass of water and keep it in the refrigerator until ready to add.
- Vinegar – There is a lot of controversy about whether the vinegar really does anything, but I’ve always used it and I get flaky crusts. Some think it slows down the gluten formation but I don’t think there’s science to back that up.
- Salt – It will enhance the flavor.
My favorite way to make a pie dough is with a food processor. There is less contact with your hands which will melt the butter, and it couldn’t be easier. However, you can still create a flaky pie crust without one.
Step 1: Measure your dry ingredients (flour, sugar and salt) into the food processor or a large bowl and whisk to combine. Then add cold butter to the food processor or bowl and process or use a pastry cutter or a fork to incorporate the cold butter cubes into the flour mixture. Work quickly so the heat from your hands doesn’t melt the butter.

Step 2: When the butter is irregular-shaped and ranges from coarse cornmeal to pea-size pieces, add ice water and vinegar and process until it just starts to form large clumps. It should be very crumbly and not shaped into a ball.

Step 3: Using floured hands, shape the dough into a ball and then flatten it into a disk of dough. Wrap with plastic and chill in the refrigerator for at least 2 hours or up to 4 days.
Pro tip: To keep your pie crust tender and flaky, avoid overworking the dough.
When you’re ready to roll out the dough, let it sit at room temperature for about 5-10 minutes before unwrapping and rolling. You want to work with cold dough but it can’t be so cold that it won’t roll out or it will crack.
How to roll out All Butter Pie Crust
Pie dough will get sticky and hard to work with as it warms up making it difficult to get into the pie dish. An easy way to avoid this problem is to roll out the dough onto a lightly floured piece of plastic wrap.
Starting in the middle, gently work outwards to create an even circle that is larger than your pie dish. For a 9-inch pie dish you’ll want your crust to measure about 12 inches.
Once it’s rolled out, gently place it in the pie plate and remove the plastic wrap. If it gets sticky during the process, place it on a cookie sheet and refrigerate for a few minutes. The plastic wrap keeps it from sticking to the counter and makes it so much easier to place it where you want in the pie dish.

Without plastic wrap, roll it onto a well floured work surface and quickly roll it out. To transfer the dough to your baking dish, fold the dough in half, then in half again. Place it into the dish and unfold. Another method you can use is to roll the dough over the rolling pin, then un-roll it over the dish.
Once it’s in the pie dish, you’ll need to trim off the excess dough so that edges are of even thickness. Leave an inch overhang of dough and fold it under, forming a thick ledge. This will give you enough dough to decorate the edge of the pie crust. If the dough is sticky at this point, then you can refrigerate before you decorate.

How to decorate Pie Crust
Although great-tasting pie is good no matter how it looks, adding a few decorative touches to the crust before it bakes can take your finished product to the next level.
There are endless ways to make decorative pie crusts. Here are a few of my favorites:
How to Flute a Pie Crust
My go-to method to finish a pie is to flute the edges. It’s simple yet pretty and they way my mom and grandmothers always finished their pies. To get a pretty fluted crust, pinch the dough between the sides of your index fingers. You can also pinch the dough with your index finger and thumb, but my fingernails get in the way, so I find using the sides of my index fingers work best. Continue around the crust and when it’s complete, freeze for at least 10 minutes.

How to make a Rope Edge for Pie Crust
This is like the fluted crust, but with a bit of a different look. Make a fist with one hand and push your thumb into the pastry at an angle. Then pinch the dough between your thumb and index finger. Repeat at ½ to 1-inch intervals around the crust.
How to make a Forked Edge on Pie Crust
This is the easiest method of all. Press the tines of a fork into the edge of the pie crust and continue all the way around. Use enough pressure so the imprint is noticeable but doesn’t go all the way through the dough.
Get creative and use the fork method to make different decorative pie crust patterns like a criss-cross edge. Or combine the fluted method with the fork method. Use the fork to press down on different sections of the flutes for a unique pattern. Experiment and have fun!
Regardless of how you decorate your pie crust, you want it as cold as possible before putting it in the oven. So freeze it for at least 10 minutes. This will help it keep its shape and not droop down into the pie pan.
How to pre-bake a Pie Crust made with Butter

Pre-baking is essential if you’re looking for a flaky crust. Also referred to as blind baking, there are two common methods: full baking and partial baking.
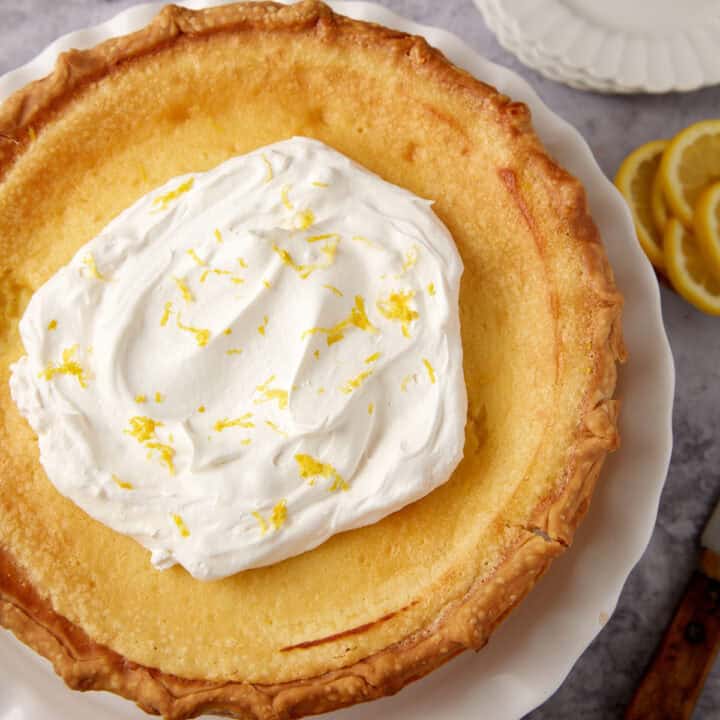
A fully pre-baked pie shell is essential for no bake-pies like Banana Cream. Because the filling isn’t cooked, the crust must be baked and cooled before adding the rest of the ingredients.
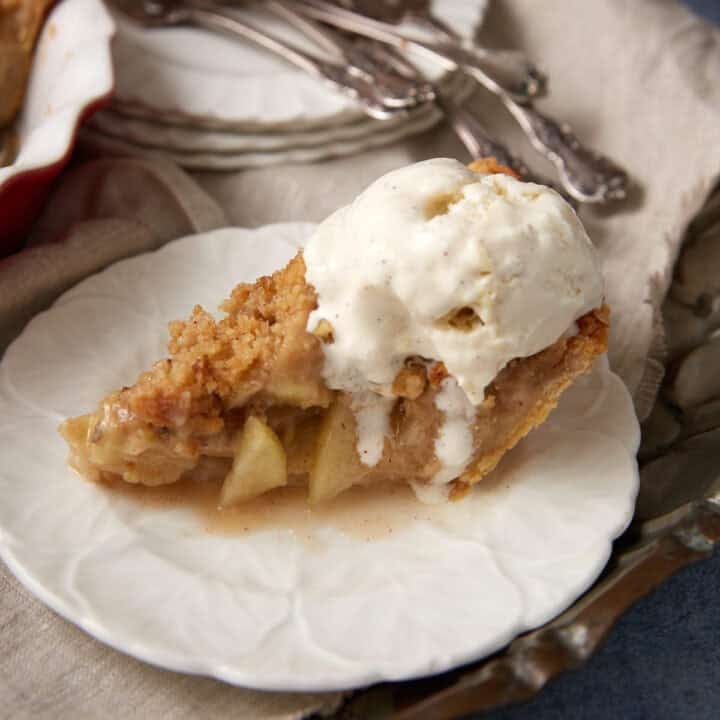
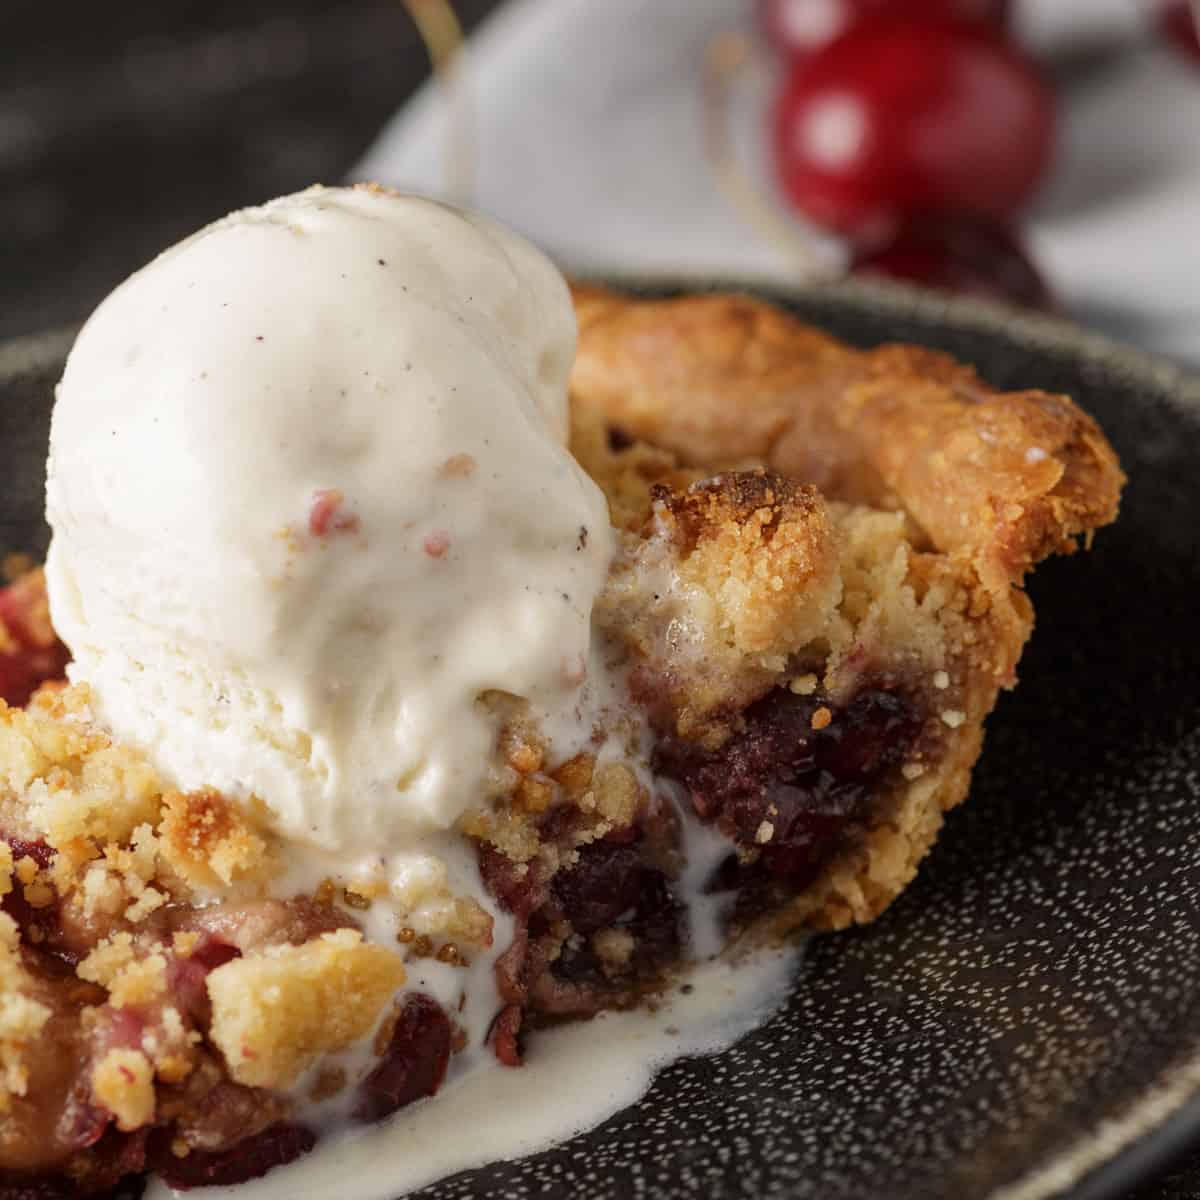
Fruit pies like Cherry Streusel and Apple Crumb Pie benefit from a partially-baked crust. This shorter baking time keeps the crust flaky while also minimizing the chances of burning during the rest of the cooking.

When pre-baking the dough, use a fork to poke holes in the bottom of the crust. This process is called “docking” and allows the steam to escape so the dough doesn’t puff up.
Pie weights are also needed as an added way to keep the dough from puffing up. They have the extra benefit of keeping the sides of the dough from shrinking down.
Substitute for pie weights
If you need a substitute for pie weights, you can use dried rice or beans.

To make a fully baked pie crust: Place a piece of parchment paper over the docked crust and fill the bottom with pie weights. Bake at 400º for 15 minutes. Remove the weights and parchment paper, then cook for an additional 12-14 minutes until it is golden brown.
Pie Recipes with a Fully Baked Pie Crust with Butter


For a partially baked pie crust: Place parchment paper over the docked crust and fill the bottom with pie weights. Bake at 400º for 15 minutes. Remove and let cool before adding the filling.
Recipes with a Partially Baked Pie Crust Made with Butter
Butter Pie Crust Tips
How to prevent Pie Crust from burning
As your finished pie is baking, keep an eye on the crust. Longer baking times for juicer fillings can result in pie edges that quickly shift from golden brown to burned. If you notice the crust getting too dark, you may want to cover the edges with a pie crust shield.
You can buy pie crust shields or you can make a homemade shield using aluminum foil. Cut out a piece of foil that is larger than your pie dish (12×12-inch works well for a 9-inch dish). Fold the foil in half, then half again. Cut out the center, leaving a 2-inch wide ring. Unfold the foil and place it over the edges of the pie to prevent further browning.
How to store Homemade Pie Crust with Butter
How to freeze pie dough
If you’re prepping for a holiday meal, you may wonder if you can make pie crust from scratch ahead of time. The answer is yes, you can. When you’re planning to use it within the next 2 or 3 days, you can flatten the dough into a disc, wrap it with plastic and store it in the refrigerator.
For longer storage, you can freeze the dough for up to 3 months. Wrap it in plastic wrap and then place it in an air-tight freezer bag. Thaw the dough overnight in the refrigerator the day before you want to bake your pie.
Other ways to use homemade dough
When you make pie crust from scratch, you have the choice to shape the dough any way you prefer. A homemade pie crust makes the best apple or raspberry hand pies. With a hand pie you get even more pie crust in every bite.
Another of my favorite ways to use homemade pie dough is in a galette. This is a type of pie that is baked on a baking sheet or skillet, not in a pie dish. I love galettes for their rustic appearance. Because the dough doesn’t need to be a perfect shape, it’s even easier to make than a traditional crust.

For savory galette recipes try butternut squash galette or a cheesy tomato galette. If you’re looking for something on the sweeter side, try a Peach or apple galette made with fresh fruit is a scrumptious option.
If you’re looking for savory versus sweet pie recipes for your perfect pie crust, try a sausage and apple pie, and try one out on your favorite quiche.

Make a Better Pie
GET MY COOKBOOK + PIE TRAINING VIDEOS
Make sure your new pies turn out the way you want.
You’ll get:
- 6 exclusive new pie recipes
- Step-by-step instructions
- 5 video trainings (from eggs to crust)
If you loved this recipe, give it a star ⭐️⭐️⭐️⭐️⭐️ rating! Also, snap a picture of your finished dish and share it with me on Instagram using the hashtag #butterandbaggage and tagging me @butterandbaggage.
Pie Crust with Butter
Equipment
Ingredients
- 2 ½ cups flour
- 2 teaspoons sugar
- 1 teaspoon salt
- 20 tablespoons butter 2 ½ sticks chilled
- 1 tablespoon apple cider vinegar
- ½ cup ice cold water
Instructions
- In a food processor, add flour, sugar and salt and pulse to combine.
- Cut very cold butter into 1 inch cubes and add to the food processor. Pulse until the butter is the size of peas with no large chunks remaining.
- Add vinegar and water and pulse until the dough starts to come together. Place on floured surface and form into a rough ball. Divide in half and pat into two flat disks about 1 inch thick. Wrap in plastic wrap and refrigerate for at least 2 hours.
Barbara’s Tips + Notes
- This recipe makes enough for 2 single pie crusts.
- You need to use very cold butter, frozen is even better.
- Add ice to a cup of water and store in the refrigerator.
- Try to handle the dough as little as possible.
- You can refrigerate for 3-4 days or freeze for 2-3 months.
- If you don’t have a food processor, use a pastry cutter or a fork to incorporate the butter into the flour.
Nutrition
 Follow Me On SocialDid you make this recipe? Mention @ButterandBaggage or tag #ButterandBaggage
on Instagram!
Follow Me On SocialDid you make this recipe? Mention @ButterandBaggage or tag #ButterandBaggage
on Instagram!
Leave a Reply