


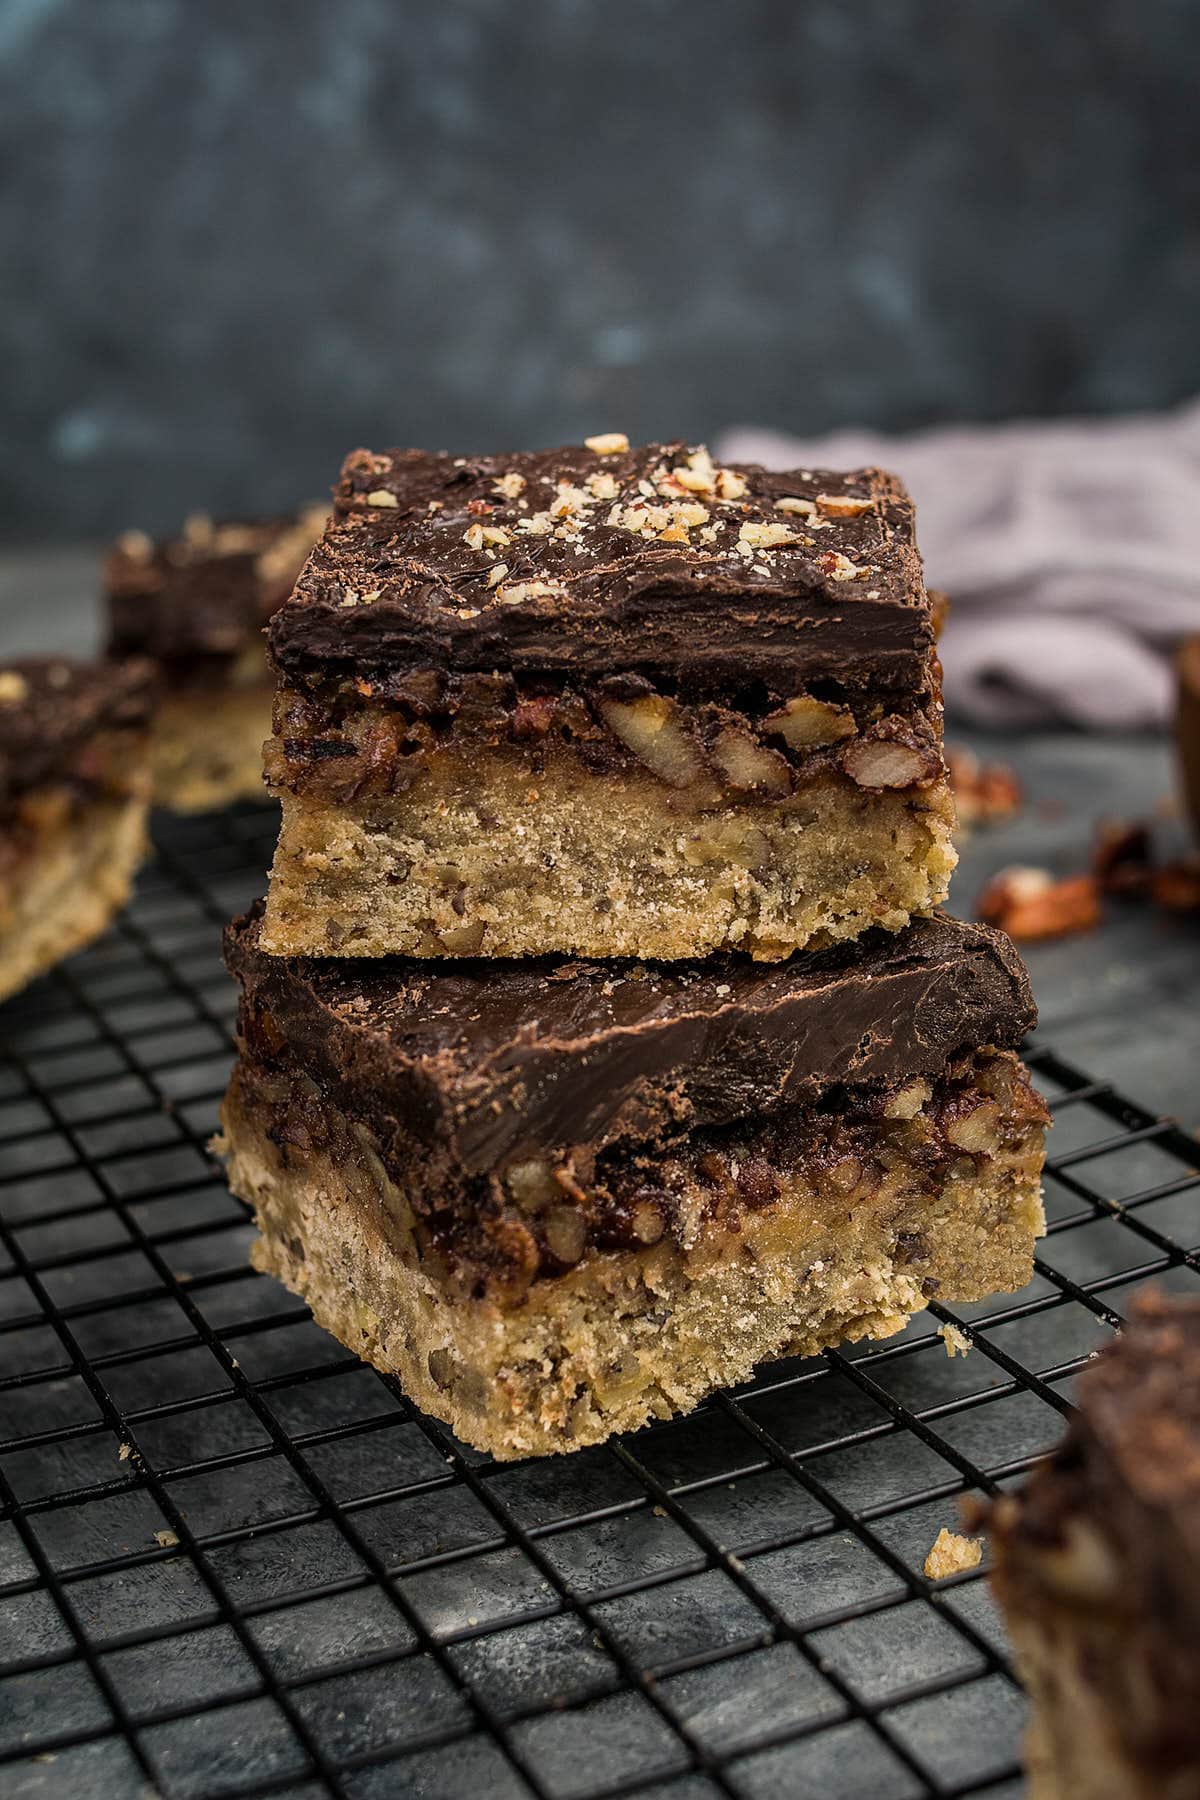
Made with a buttery pecan cookie crust and a soft, nutty filling, these pecan pie bars deliver all the flavor of classic pecan pie in an easy, hand-held form. Toasted pecans add depth, while a simple chocolate topping melts right over the warm bars and sets into a smooth finish. Baked in one pan and easy to slice, this is a dependable dessert for holidays, potlucks, and anytime you need something that travels well.
A Quick Look At The Recipe
- Recipe Name: Chocolate-Topped Pecan Pie Bars
- Main Ingredients: COOKIE, butter, brown sugar, egg, vanilla, flour, salt, finely chopped pecans
- Why You'll Love It: Made with a buttery pecan cookie crust and a soft, nutty filling, these pecan pie bars deliver all the flavor of classic pecan pie in an easy, hand-held form. Toasted pecans add depth, while a simple chocolate topping melts right over the warm bars and sets into a smooth finish. Baked in one pan and easy to slice, this is a dependable dessert for holidays, potlucks, and anytime you need something that travels well.
Everything You Love About Pecan Pie, Just Easier
If you love pecan pie but don’t always want to fuss with a full pie, these bars are the answer. The crust presses right into the pan without chilling, the filling comes together while it bakes, and everything layers neatly without extra steps.
The chocolate topping might sound like it’s too much, but it actually balances the sweetness and gives the bars a clean finish. Once cooled, they cut easily, and hold their shape.
My All-American Summer Menu 🇺🇸
FREE EMAIL BONUS: Delicious summer recipes just in time for the season
Toasting the pecans gives the filling more depth and keeps their texture intact as the bars bake. Using finer pieces in the crust and larger pieces in the filling adds a nice contrast without making the bars feel too heavy.
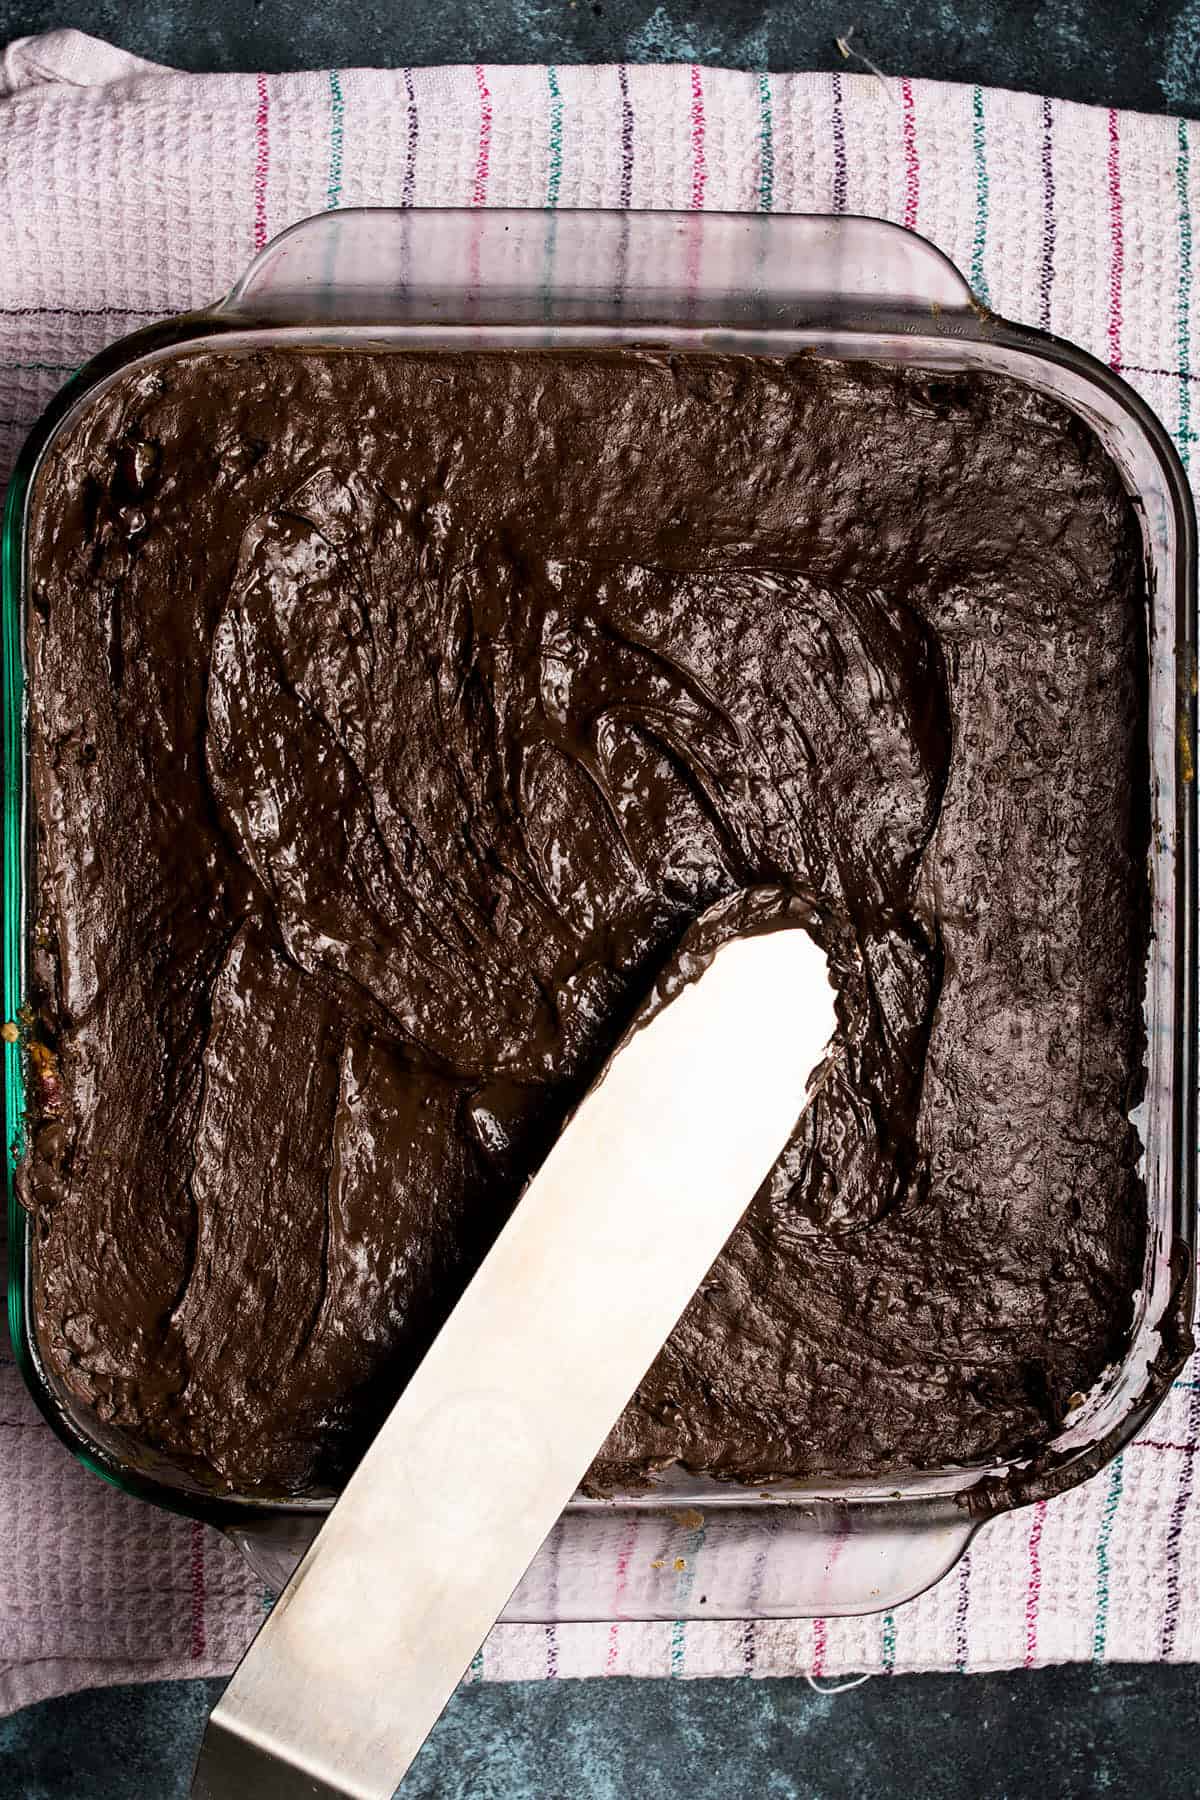
The chocolate topping is one of the things that sets this bar recipe apart. Instead of making a separate ganache, you just scatter the chocolate chips over the hot filling and let the warmth do the work before you smooth it out.
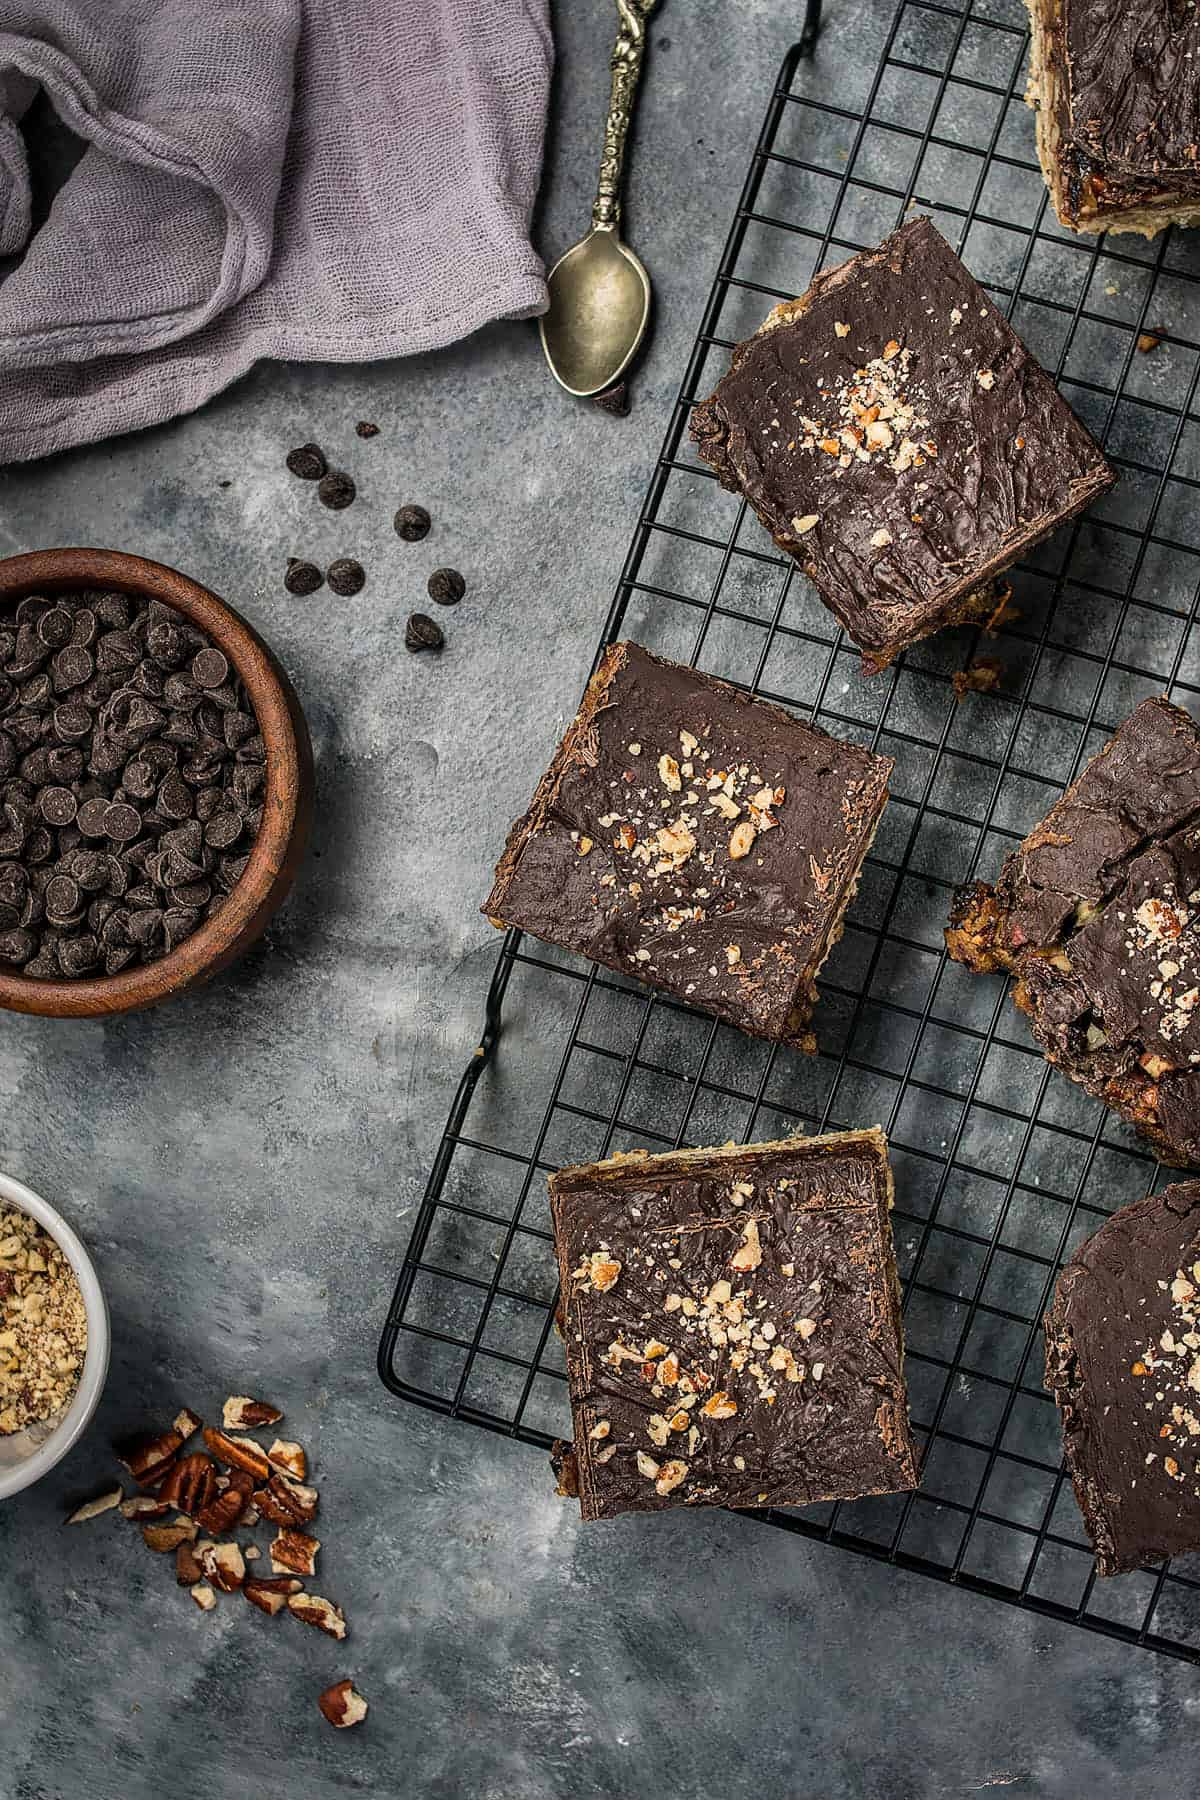
Once they cool, the bars cut cleanly and keep their shape, so they’re easy to share or pack up for later. They also store well, firming up in the refrigerator without losing their soft, chewy center.
You can cut it into 24 good size bars versus only 8 slices of my favorite chocolate pie with pecans.
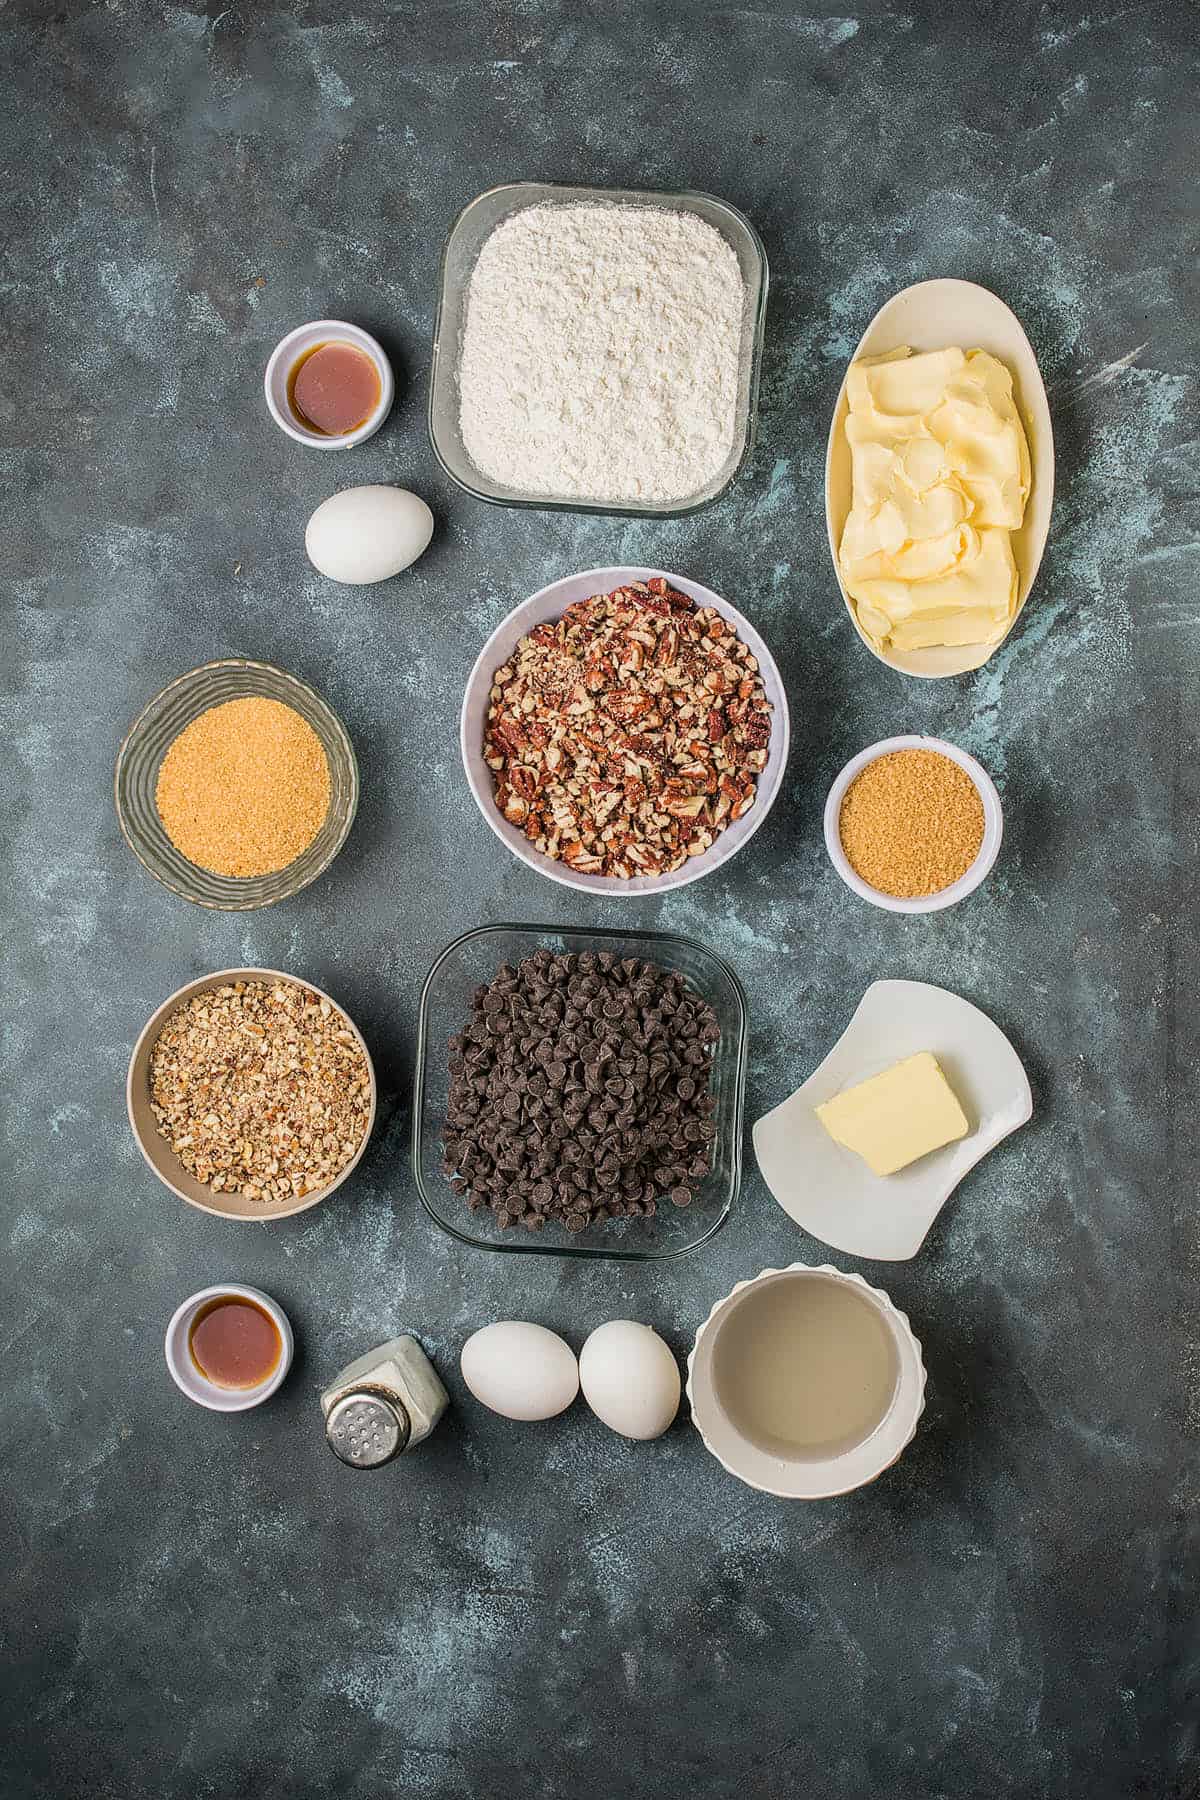
What Turns These Bars into a Slice of the South
A few familiar ingredients are all it takes to capture that classic pecan pie flavor. Don’t forget to check the recipe card for the rest of the ingredients.
The Shortcut Path to That Caramel-Pecan Goodness
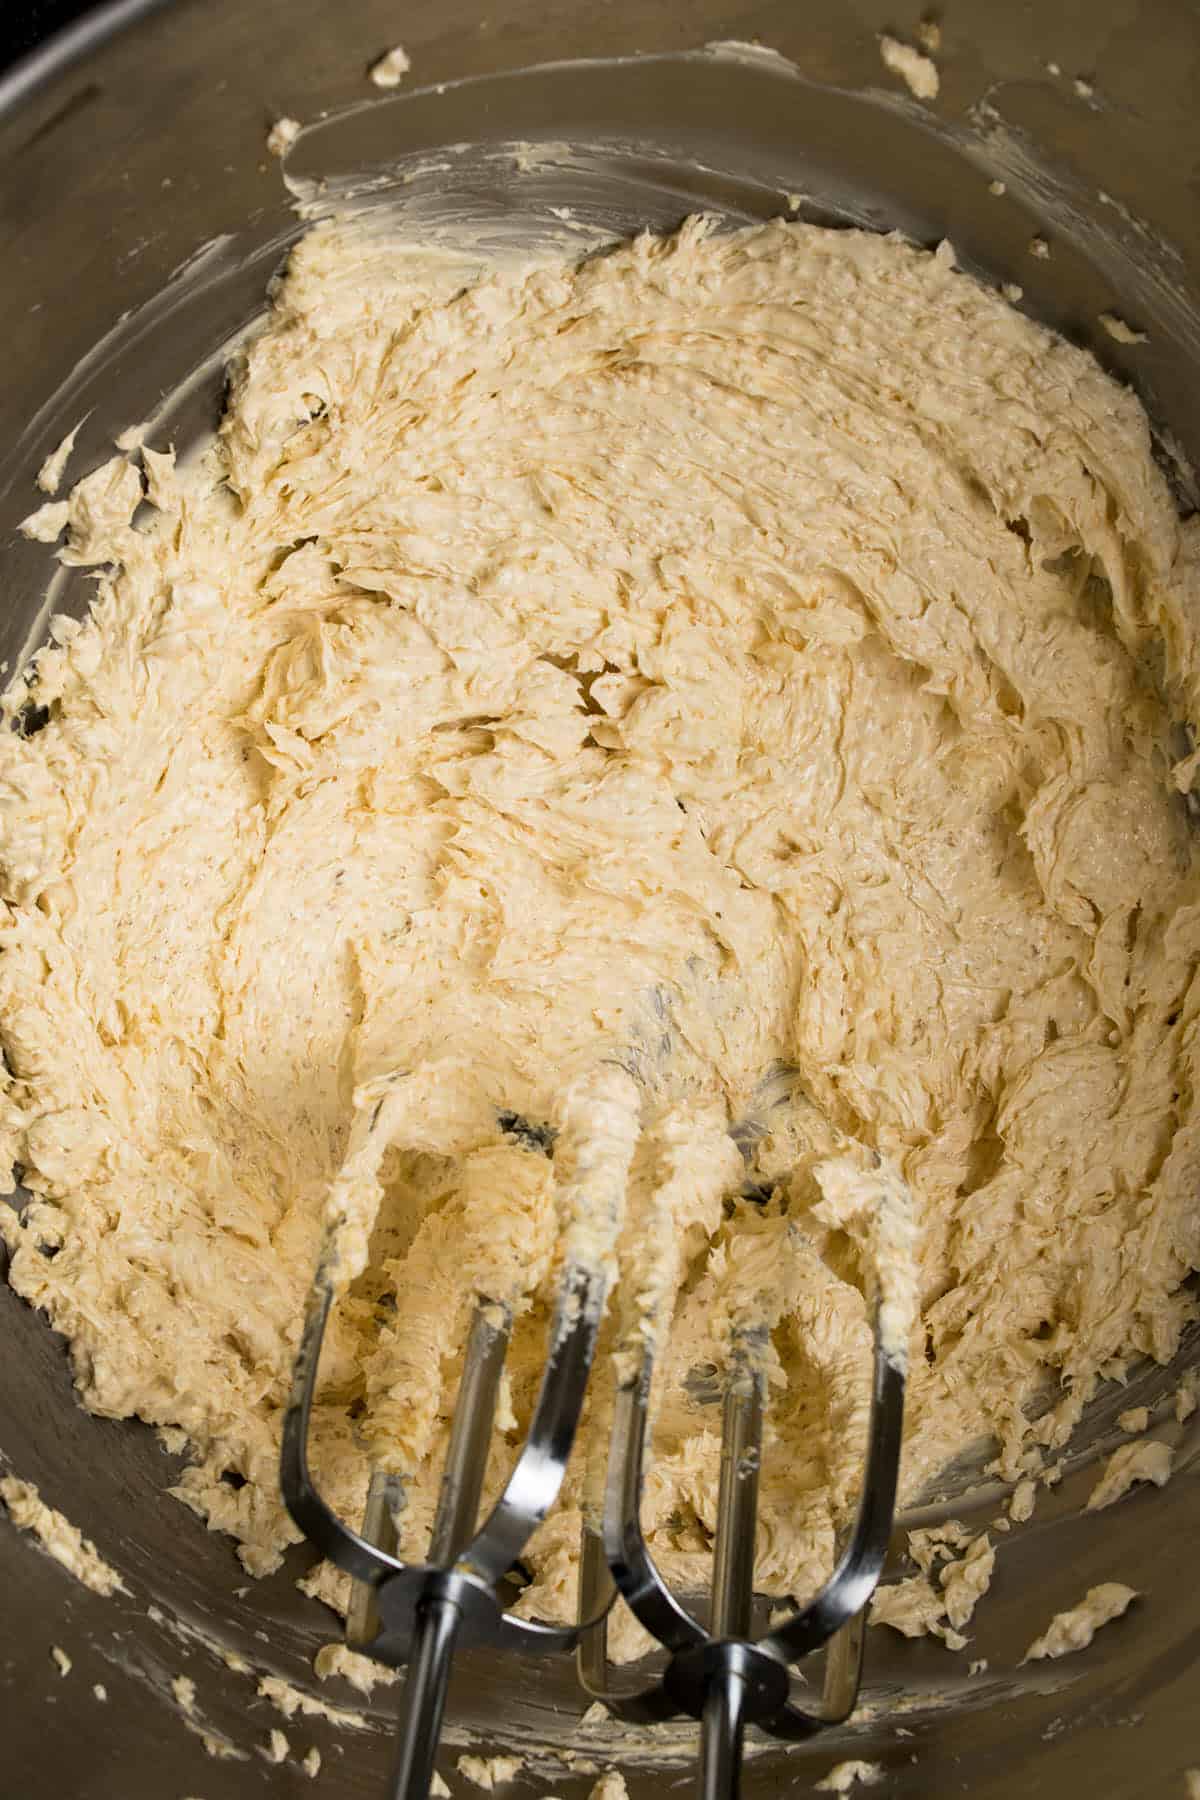
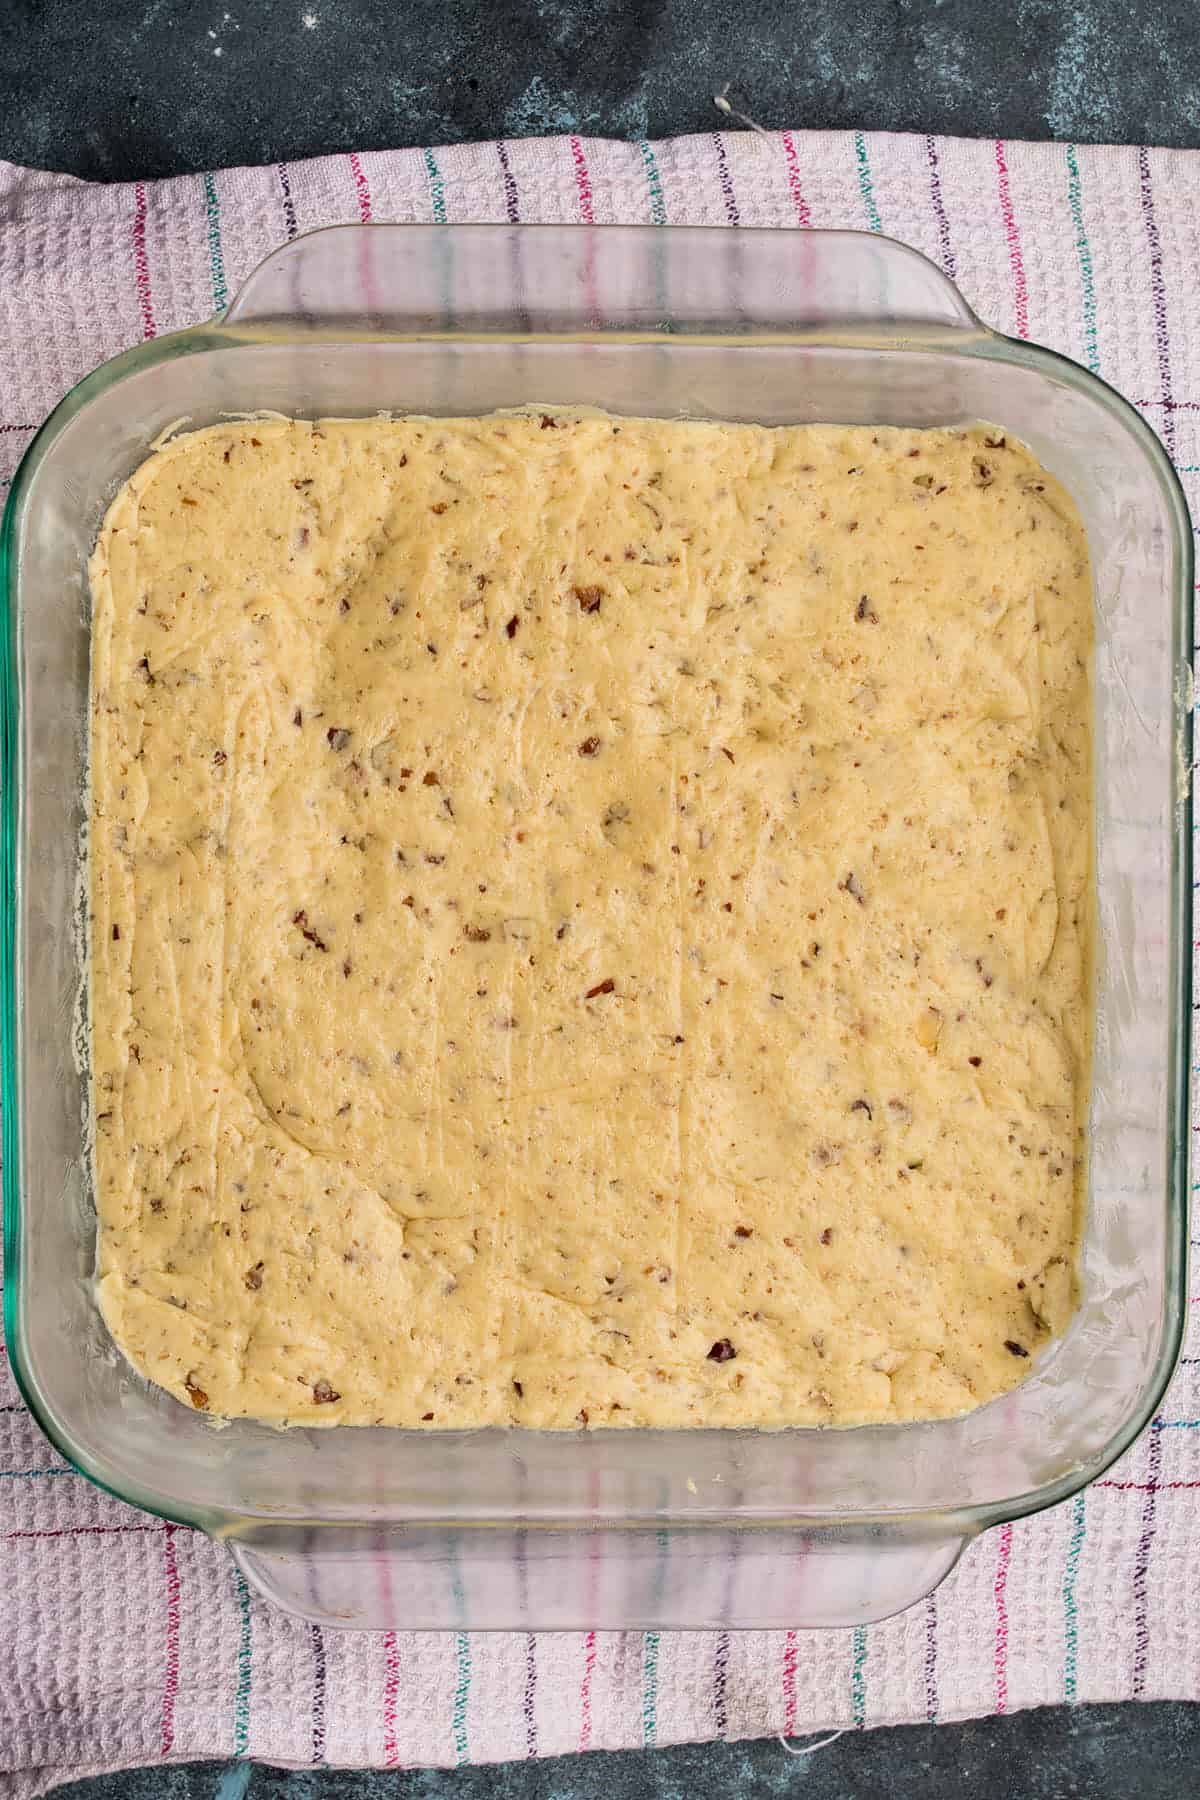
Step One: Make the Cookie Base


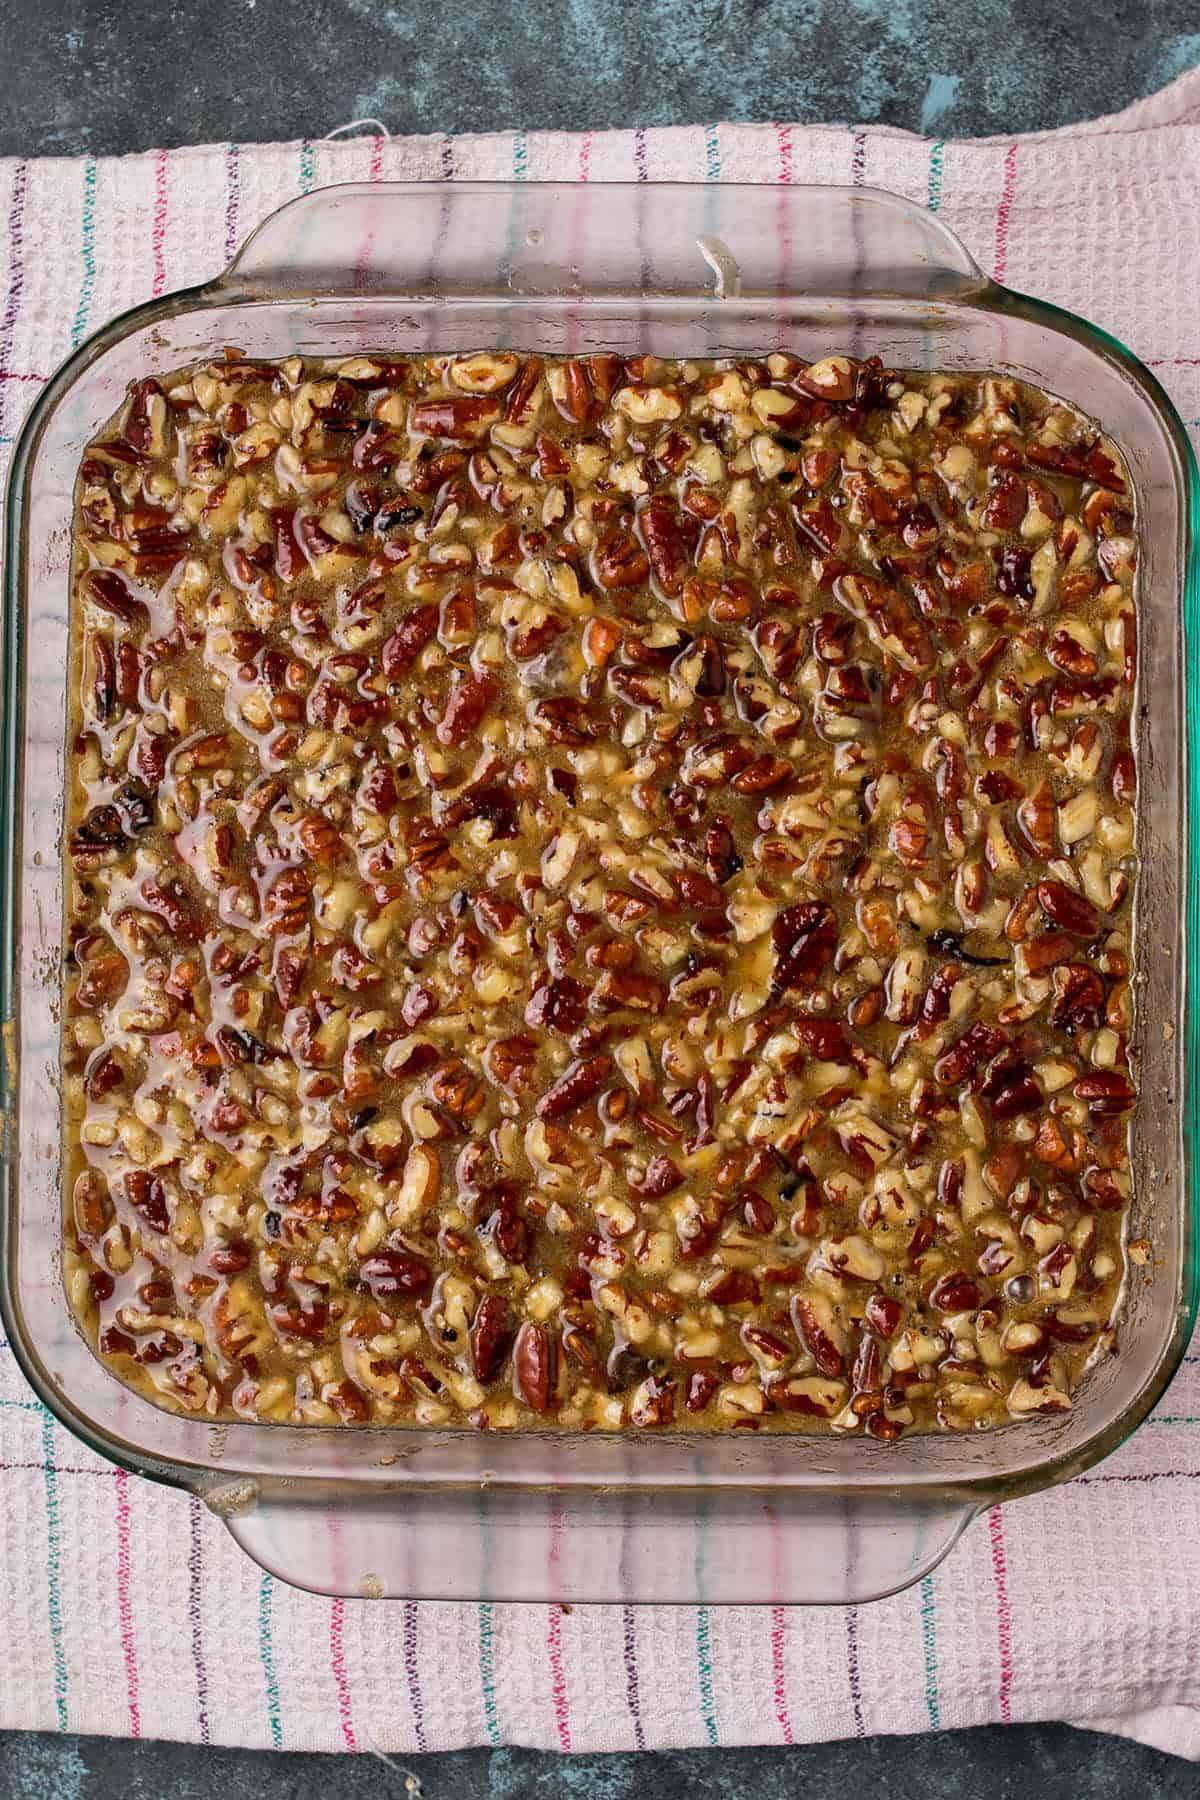
Step Two: Mix the Filling
While the crust is in the oven, whisk together the corn syrup, brown sugar, eggs, melted butter, vanilla, and salt. Stir in the toasted pecans so they’re well coated and ready to pour.
Step Three: Add the Filling and Bake Again
Step Four: Finish With Chocolate
These pecan pie bars are easy to make, easy to slice, and easy to share. They have all the flavor of classic pecan pie without the fuss, which makes them a solid choice anytime you need a dependable dessert that travels well.
Get some of my favorite baking tools below to make trying out this recipe a little easier.

If you loved this recipe, give it a star ⭐️⭐️⭐️⭐️⭐️ rating! Also, snap a picture of your finished dish and share it with me on Instagram using the hashtag #butterandbaggage and tagging me @butterandbaggage.

Chocolate-Topped Pecan Pie Bars
Ingredients
COOKIE
- 1 cup butter softened
- ⅓ cup brown sugar
- 1 egg
- 1 teaspoon vanilla
- 2 ¼ cups flour
- 1 teaspoon salt
- 1 cup finely chopped pecans toasted
PECAN FILLING
- ⅔ cup light corn syrup
- ½ cup brown sugar
- 2 eggs
- 2 tablespoons butter
- 1 teaspoon vanilla
- ¼ teaspoon salt
- 1 ½ cups pecans roughly chopped and toasted
- 12 ounces semi sweet chocolate chips
Instructions
- Preheat oven to 350º. Grease an 8 inch square baking pan.
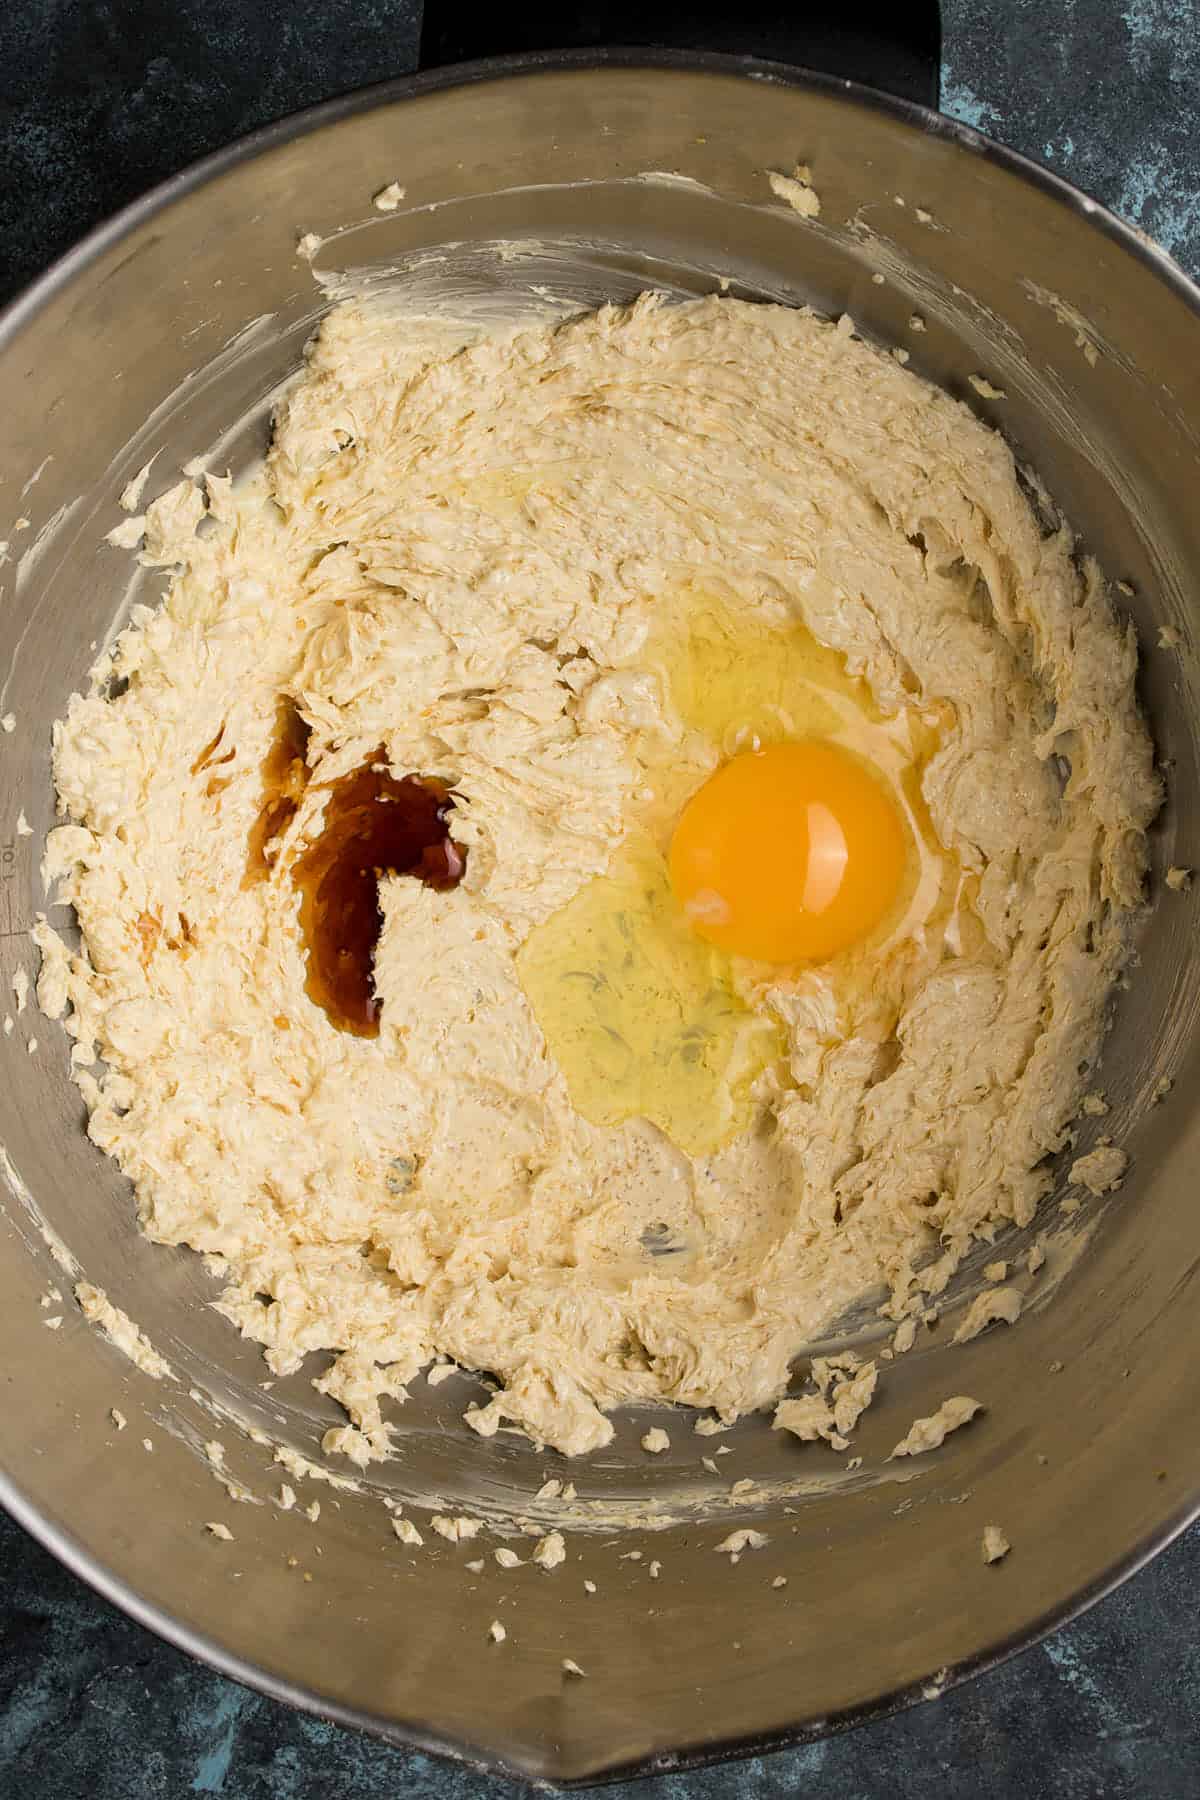
Cookie:
- Beat butter and sugar in the bowl of an electric mixer until light and fluffy. Add eggs and vanilla and mix until well combined. On low speed, gradually add the flour and pecans and salt. Mix until combined.
- Transfer to the prepared pan and press into an even layer.
- Bake for 15 minutes until edges are slightly browned.
Filling:
- While the cookies are baking, combine corn syrup, brown sugar, eggs, butter, vanilla and salt. Stir in the pecans.
- When the cookie layer is done, remove from the oven and pour topping over the cookie layer. Return to the oven and bake for 35 minutes, until the top is set and slightly browned.
- Remove from the oven and immediately sprinkle the chocolate chips over the top. Let it sit for about 5 minutes and then using an offset spatula or a knife, spread the chocolate over the topping. Cool completely before cutting.
Barbara’s Tips + Notes
- Let the chocolate cool before slicing
Nutrition
 Follow Me On SocialDid you make this recipe? Mention @ButterandBaggage or tag #ButterandBaggage
on Instagram!
Follow Me On SocialDid you make this recipe? Mention @ButterandBaggage or tag #ButterandBaggage
on Instagram!
Leave a Reply